Embarking on the journey of cutting hair extensions opens up a realm of endless possibilities for transforming and enhancing your hair. Whether you’re seeking to add volume, length, or simply refresh your look, knowing how to cut hair extensions can make all the difference. In this detailed guide, we’ll walk you through step-by-step instructions, insider tips, and expert advice to ensure you achieve flawless results every time. Get ready to unlock the secrets to perfectly tailored extensions and unleash your creativity in the world of hairstyling!
I. Why Do We Need To Cut Hair Extensions?
Have you ever wondered why cutting hair extensions is a crucial part of the hair care routine? It might seem counterintuitive at first glance – after all, extensions are meant to add length and volume, so why would anyone want to trim them? Let’s explore the reasons behind why we need to cut hair extensions.
1. Cutting Hair Extensions for Customization:

Hair extensions usually come in standardized lengths, but not everyone’s natural hair or desired style matches those lengths perfectly. Not only that but sometimes they can be too thick or bulky, especially if the wearer has fine or thin natural hair. So, cutting the extensions or thinning out the extensions can be customization to match the length, reduce bulkiness, and create a more natural appearance.
2. For Blending:
Cutting extensions can help blend them seamlessly with natural hair. If the extensions are noticeably longer or thicker than the natural hair, cutting them can create a more natural transition and prevent any obvious lines of demarcation. Additionally, cutting extensions allow for customization to match the desired style and length of the wearer. By strategically trimming the extensions, hairstylists can ensure they seamlessly integrate with the natural hair, enhancing overall volume and creating a cohesive look. Moreover, proper cutting techniques can also help manage any potential disparity in texture between the natural hair and the extensions, ensuring a flawless blend.
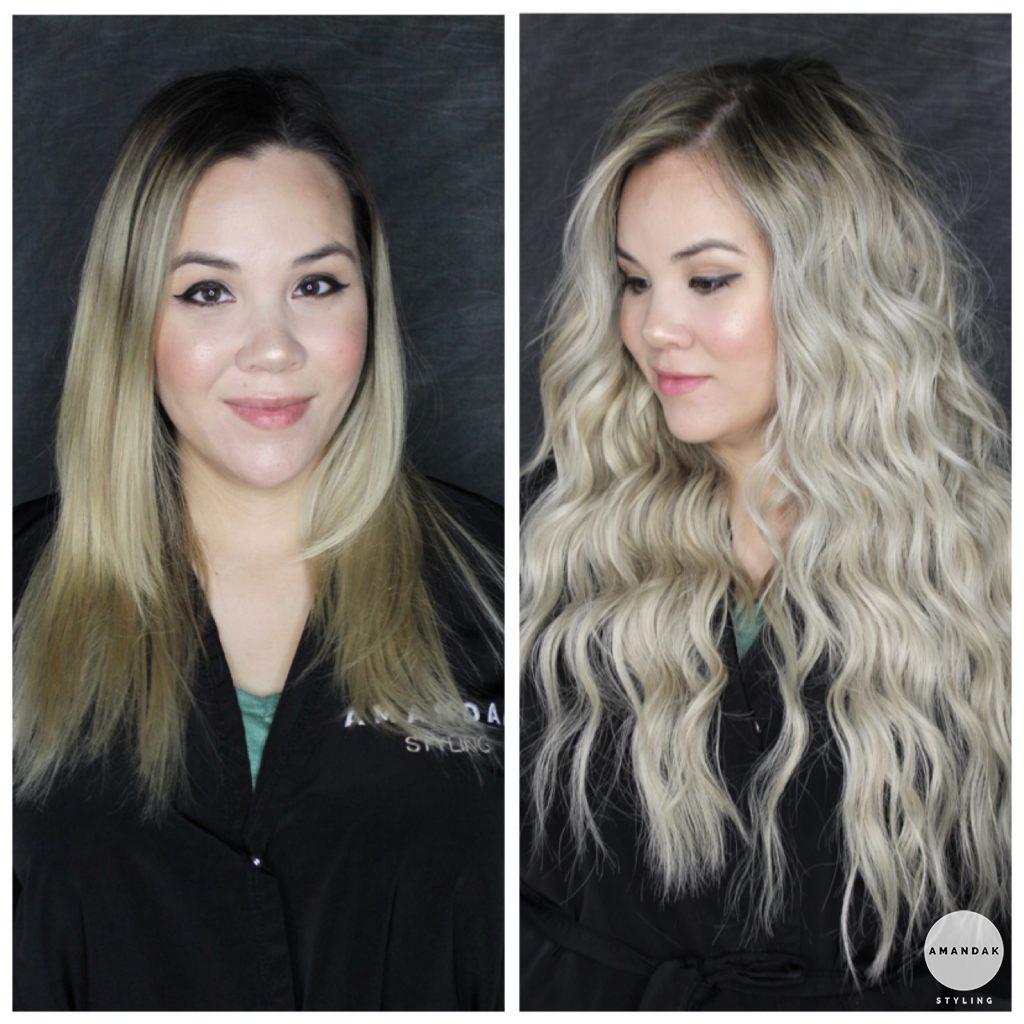
Check This Out: What Do I Do If My Hair Extensions Don’t Blend In?
3. Cutting Hair Extensions for Layering:
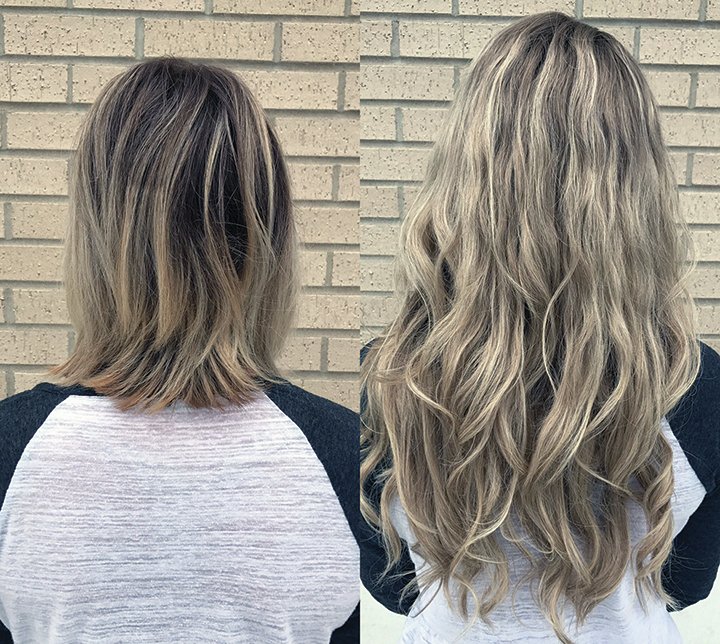
If the wearer desires a layered hairstyle, cutting the extensions to different lengths can achieve this effect. Layering adds dimension and movement to the hair, creating a more dynamic and textured look. Layering extensions to different lengths can be a game-changer for achieving that coveted layered hairstyle. Whether it’s subtle, face-framing layers or bold, voluminous ones, cutting extensions to varying lengths allows for endless possibilities in creating dimension and movement.
4. Removing Damage:
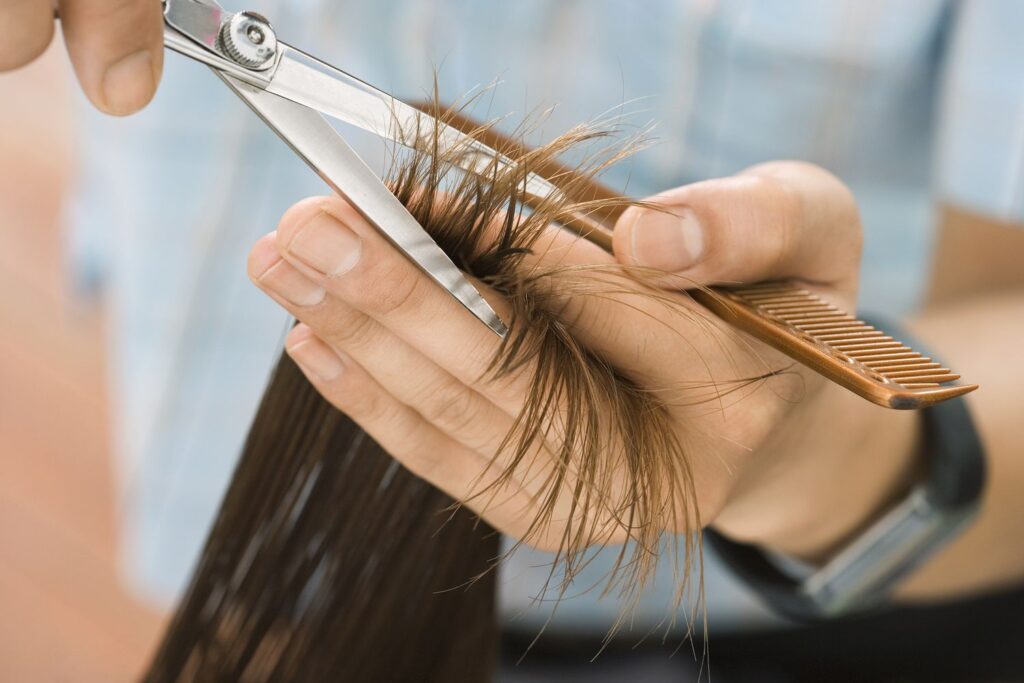
Despite their durability, extensions are still susceptible to damage from various styling practices, exposure to heat, and environmental factors. Trimming the extensions removes any split ends or damage, ensuring that they remain healthy and look their best. Regular trimming is essential for maintaining the health and longevity of hair extensions.
Maybe You Are Also Interested in: Are Hair Extensions Bad For Your Hair?
II. How To Cut Hair Extensions?
Cutting hair extensions is essential for achieving a customized, natural-looking hairstyle that complements the wearer’s natural hair and desired look. Whether you’re looking to achieve a sleek, polished look or a trendy, layered style, knowing how to cut hair extensions can elevate your overall appearance. While the thought of cutting extensions might seem daunting, with the right tools, techniques, and a bit of practice, you can master the art and customize your extensions to suit your unique style.
How To Cut Hair Extensions #1. Prepare Hair & Essential Tools
Before you start trimming your hair extensions, make sure they are properly installed. Attach the extensions to match your desired appearance, parting your hair as needed to achieve the look you want. Cutting the extensions while they are dry allows you to see their color, texture, and shape more clearly. This way, you can accurately measure the length and density, helping you decide on the perfect style. Then you will need to ensure your hair styling kit is fully stocked for optimal results. Here’s what you’ll need:
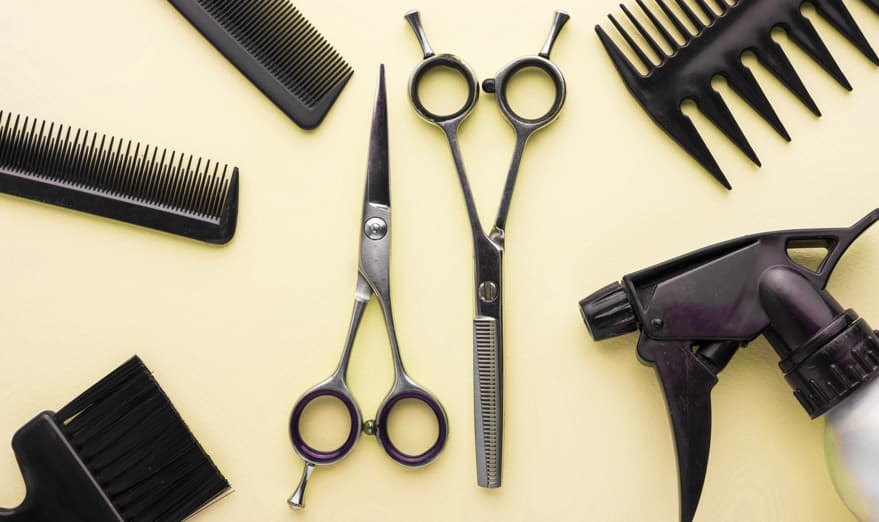
- Scissors: A high-quality pair of hair-styling scissors is essential for precise cuts.
- Thinning shears: Handy for creating layered looks and adjusting hair thickness.
- Wide-toothed comb: Perfect for detangling hair and extensions, as well as gently opening curls and waves without damaging them.
- Pintail comb: Ideal for precise sectioning and neat parting.
- Alligator clips: they are great for securing sections without tugging or damaging the hair.
- Mirror: A good mirror is crucial for seeing the overall look as you work. Place it in a well-lit area to ensure you can see clearly and avoid straining your eyes.
How To Cut Hair Extensions #2: Mastering the Techniques
Different hair extensions require specific cutting techniques depending on the desired outcome. Typically, the main goal when cutting hair extensions is to achieve a seamless blend. To accomplish this, you need to use proper cutting methods. Here are some highly effective techniques for blending hair extensions:
Cutting Technique: Slicing
Slicing cutting is a technique used to blend hair extensions seamlessly with natural hair, creating a cohesive and natural look. It involves using the open blades of the scissors to glide through sections of the extensions and natural hair, cutting in a slicing motion to remove weight and add texture.
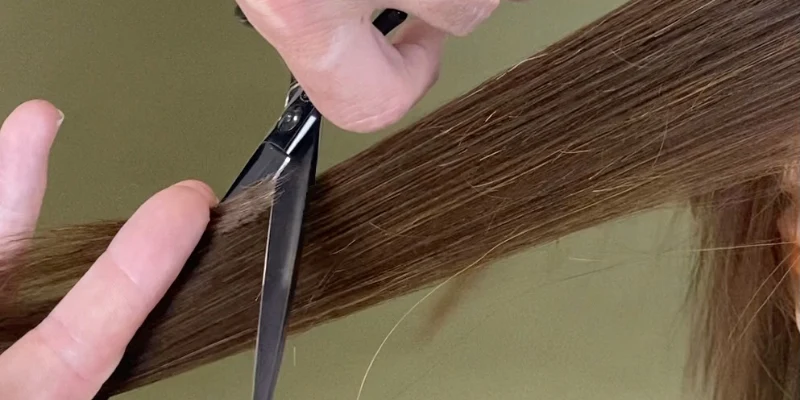
Consider the natural length of your hair as its shortest layer. Grasp part of the extensions with your fingers, then cut to the ends from the center carefully, in a diagonal movement. While cutting, close and open the shears gently, rather than drawing them through your hair.
How To Cut Hair Extensions Technique: Point Cutting
Point cutting is a hair-cutting technique used to add texture and remove bulk from the ends of the hair.
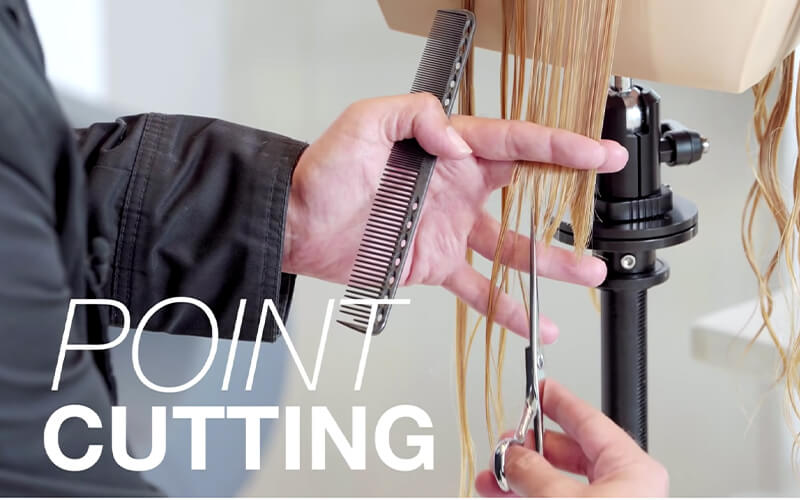
It involves using the tips of the scissors to snip the hair at an angle, creating a softer, more natural finish. This technique is often used to blend layers and create seamless transitions between different lengths. To perform this technique, hold the extensions by the ends and cut upwards into your hair. It’s crucial to cut straight up in line with your hair to remove thickness without reducing the length.
Cutting Technique: Slithering
Slithering removes bulk effectively and creates discreet layers within hair extensions.
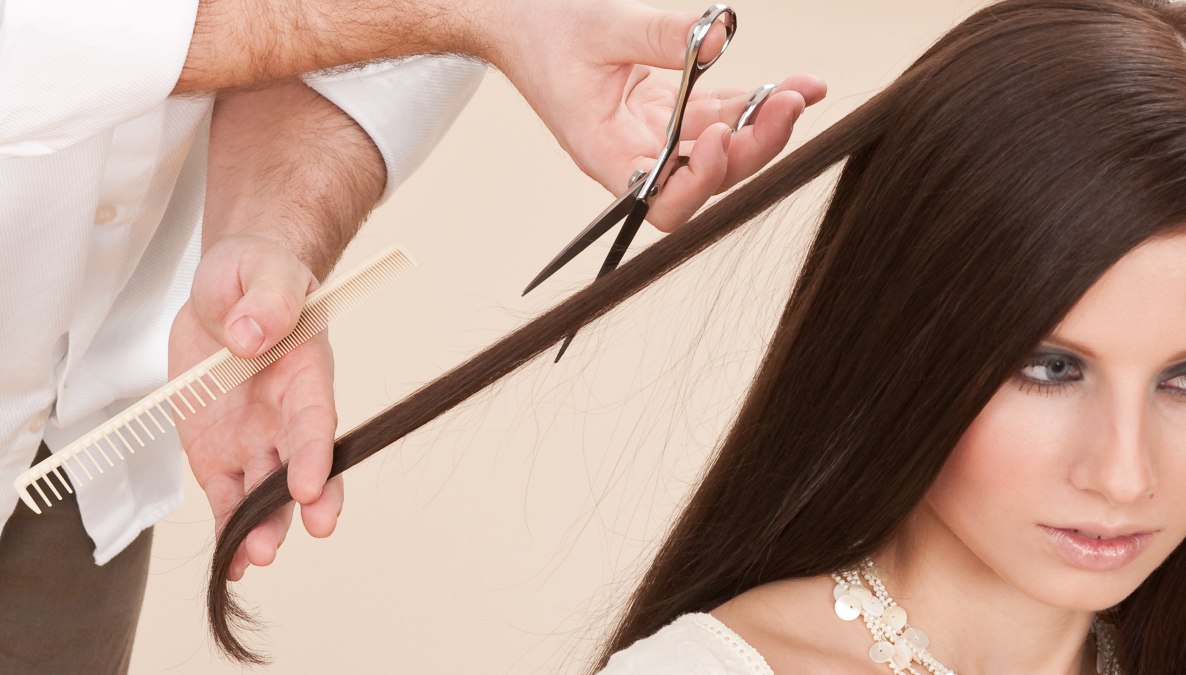
Very similar to the slicing technique, this removes bulk to create more feathered locks. With slithering, take your scissors straight down in the middle of the section and use the same sliding technique with your scissors open. Where sliding is most ideal for the front layers of the hair, the slithering technique is perfect for creating a more tapered look throughout the hair.
How To Cut Hair Extensions Technique: Blunt Cutting
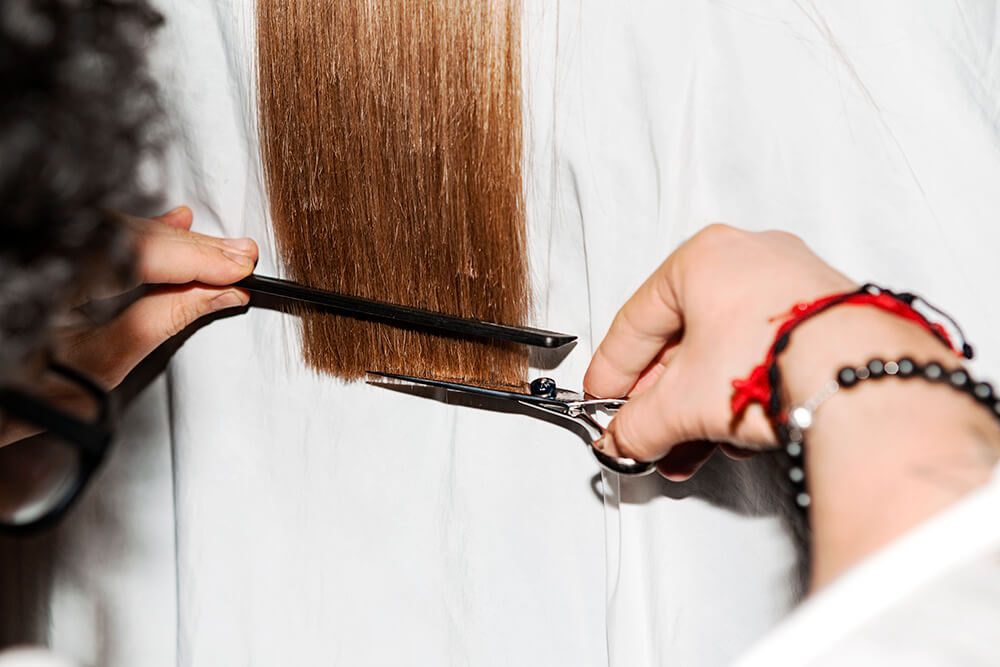
Blunt cutting is a hair-cutting technique often used for hair extensions to create a clean, uniform edge. Blunt cutting is particularly useful for achieving sleek, structured styles and is commonly used to trim and shape hair extensions to blend seamlessly with natural hair. To achieve a blunt cut, you’ll need to trim your hair at a 0-degree angle, making sure that your section is in line with the others and keeping each strand falling into place at an even length.
→ We highly advise seeking the expertise of a professional hair stylist for optimal results. However, if accessing a professional stylist isn’t feasible, you can still cut your own hair extensions using the techniques outlined above. Always ensure you have the appropriate tools at your disposal to achieve the best possible outcome.
III. Conclusion
In conclusion, cutting hair extensions can seem daunting at first, but with the right tools, techniques, and guidance, it can be a simple and rewarding process. By following the detailed steps outlined in this guide, you can achieve the desired length, and style, and blend seamlessly with your natural hair. Remember to take your time, be patient, and practice on small sections before making any major cuts.


 BEST SELLING PRODUCTS
 Wig Hair
 WHOLESALE
 Contact us
 Sale Events
