ABOUT US
 HAIR EXTENSIONS
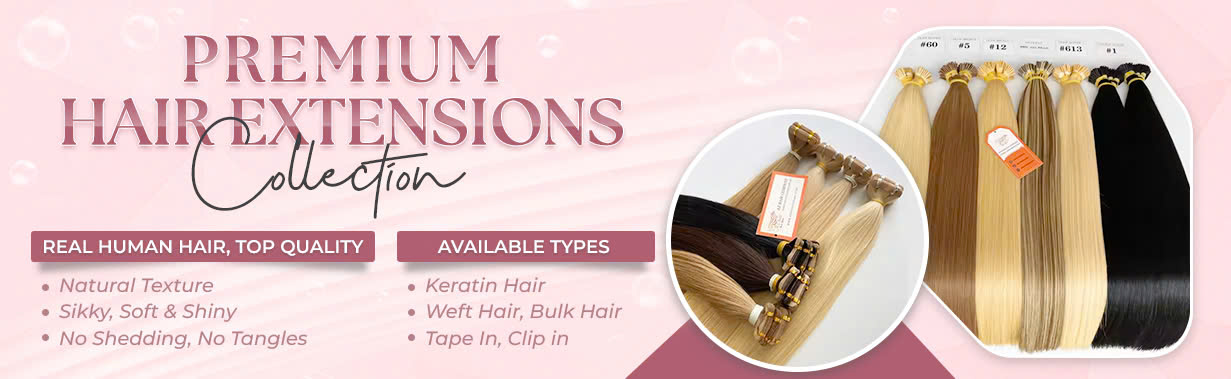
 BEST SELLING PRODUCTS
 Wig Hair
 WHOLESALE
 Contact us
 Sale Events
Embarking on the journey of enhancing your natural locks with tape-in hair extensions can be a thrilling experience. These extensions offer a quick and seamless way to add length, volume, and versatility to your hair. However, when the time comes to remove and re-install them, it’s crucial to approach the process with care to avoid any potential damage. In this guide, we will walk you through the step-by-step process of safely removing and reinstalling tape in hair extensions without causing harm to your natural hair. Whether you’re a seasoned extension enthusiast or a first-timer, these tips and tricks will ensure a smooth transition, leaving your hair healthy and gorgeous.
I. When Do You Need to Visit a Salon for Removing and Reinstalling Your Tape-ins?
The best time to visit a salon to remove your tape-ins would be nearly two months after the extensions were first installed. It’s always smart to make an appointment with your hair-dresser beforehand, and you should clear your schedule before time to make room for the extension move-up appointment. The tape-in extension move-up appointment can easily take up to 3 hours, and hair professionals should also make sure to inform their clients beforehand. However, if you can’t make enough time on the same day, then you can also divide your appointment into two days. One day would be for removing the extensions, and the other day would be for re-installing them.
No matter what decision you make, it is imperative to be extremely careful while re-installing the tape-in extensions. Even the slightest mistake in the re-taping could make things worse due to early slipping. If you want to have the best results possible, then you must not rush through the process.
CHECK THIS OUT: Why Are My Tape-In Hair Extensions Slipping Out?
II. Removing and Reinstalling Tape in Extensions: Steps for Removing
We advise you to have your Tapes removed and re-applied by a professional stylist however not everyone has the means to get professional help. Here are the steps to removing tape-in hair extensions:
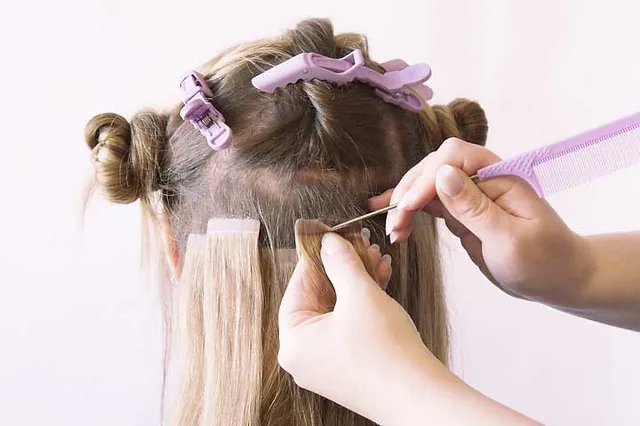
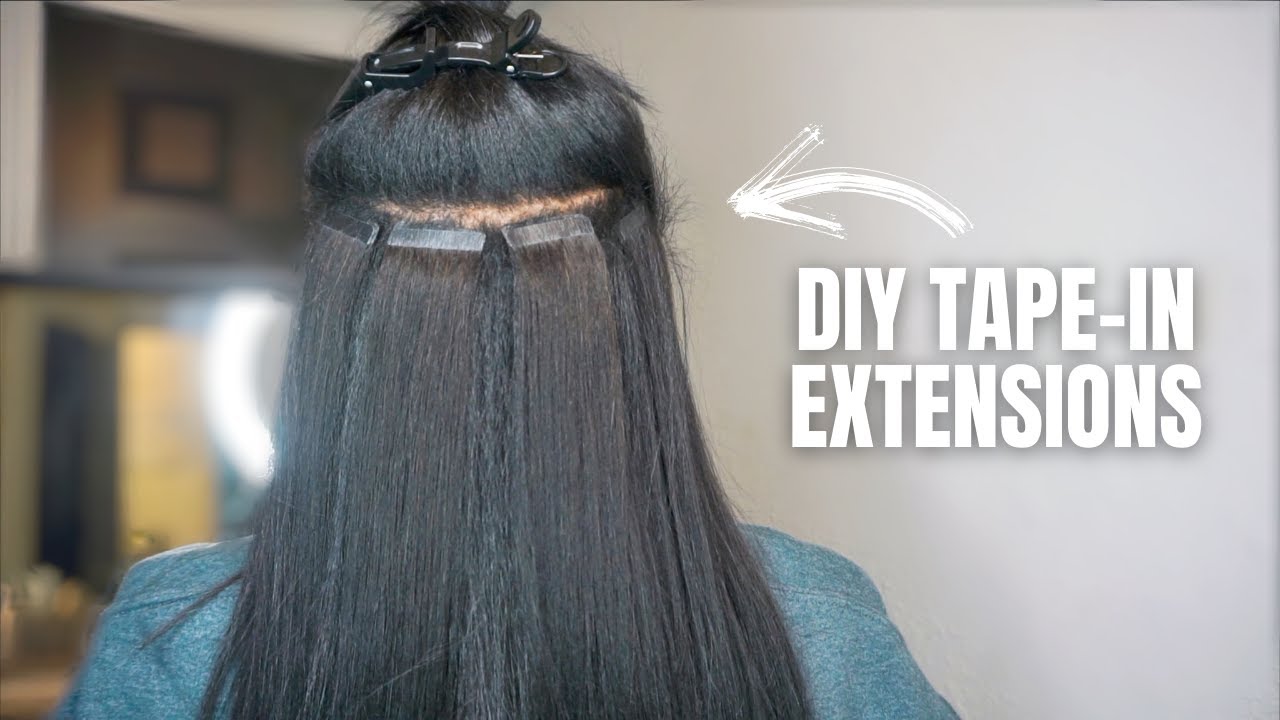
Step #1. Make Hair Partitions
The first step would be to move your hair aside to make the tapes visible. It’s best to begin from one side of your head and ensure that you can get a clear reflection of your actions in the mirror. The extensions are usually taped in underneath the top-most surface of the hair, so they become well-hidden. Therefore, shifting the top-most layer of your hair to the side will expose the tape-in extensions. You can clip the shifted hair on the other side of your head to keep it from moving. It’s always suggested to start moving from the front of your head, all the way to the back of your head.
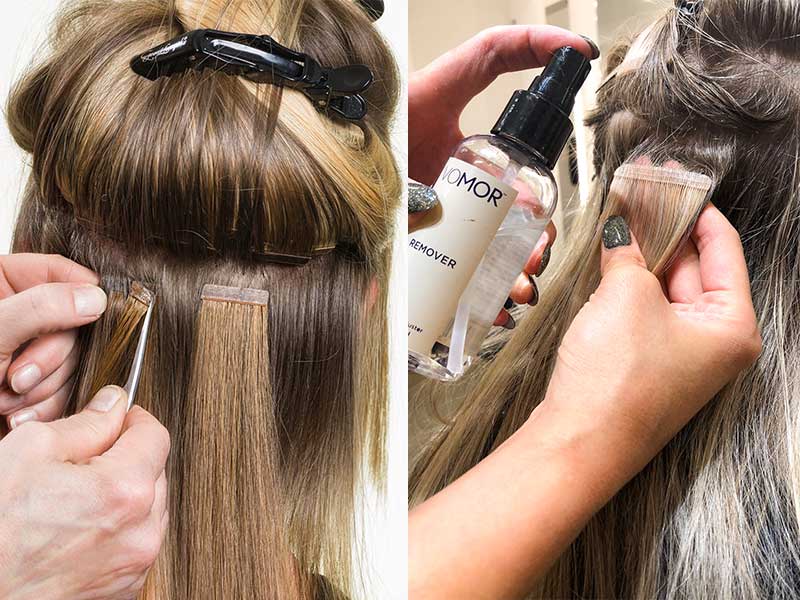
Step #2. Soak the Tape with a Hair Extension Tape Remover
In case you’re wondering, there are several oil-based hair extension tape removers available in the market, and they assist with getting rid of the residue of the binding glue that keeps the tape attached to your hair. Once the glue is removed, the extension comes off very easily.
Using this product saves you a lot of time and keeps your natural hair free from any kind of damage. While most of these removers are available in the form of sprays, you can also get them in the form of products that are either poured or dripped as opposed to being sprayed.
Step #3. Move the Extensions
Once you’ve soaked the taping part of the extensions in the tape remover, you should let it rest for some time, then try tugging on the hair that is attached to the tape. You should do this gently to see if the tape moves from its place at all. Make sure not to tug too hard as it could ruin the extensions. In case you feel that the extensions aren’t moving or if they are still not moving as much, then it’s best to apply more remover to the extension tape and allow it to rest for a while, which would be better for removing the extension.
Read Now: How To Remove AZ Tape In Extensions?
III. Removing and Reinstalling Tape in Extensions: Tips for Re-installing
The good news is that once the hair has been taken out you can re-tape your extensions yourself at home. Retaping extensions yourself can save you time and money as most salons will charge extra for this service on top of a removal. You can easily do this in a few simple steps. All you need is a pack of spare tape tabs!
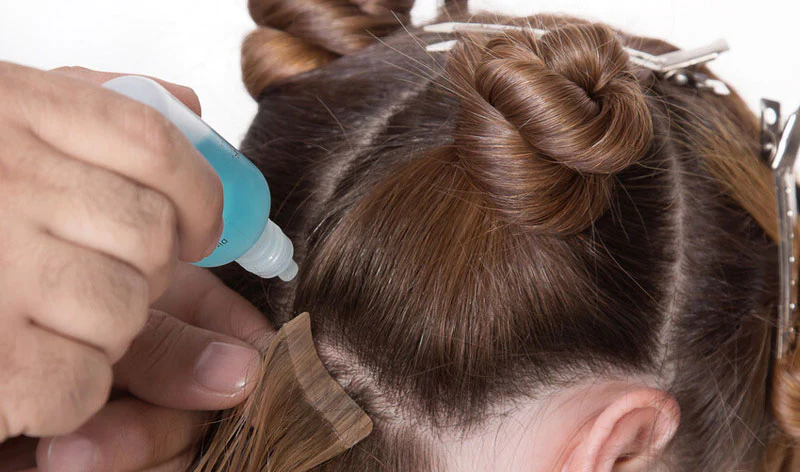
1. Replace Tapes
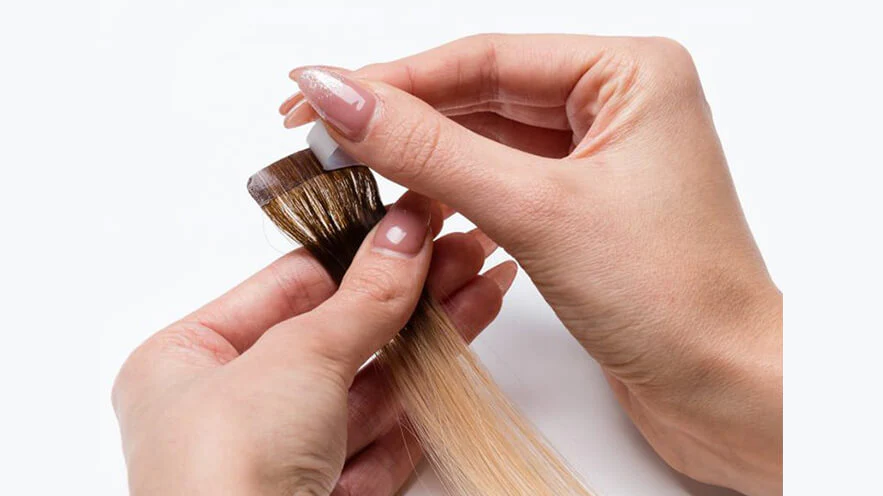
Peel the previous sticky tab away from the tape extension. Before holding the tape, you must ensure that your hands aren’t oily. You can also only hold the tape from the edges to avoid touching it as much as you can prior to attaching it strongly to the extension.
2. Wash Your Hair and the Wefts
Give the hair extensions a good wash with a sulfate-free shampoo and follow with a deep conditioning treatment to restore moisture to the hair. Dry and straighten the extensions. Use heat protect spray to prevent drying the hair out.
CHECK THIS OUT: The Best Shampoo And Conditioner For Hair Extensions
3. Re-Installation Tape In Hair Extensions
Once the hair is clean, dry, and smooth you can apply the new tape. Simply peel a strip from your spare tabs pack and stick it to the top of your tapes. Make sure you apply the tab to the same side as the previous sticky tab.
IV. Removing and Reinstalling Tape in Extensions
In conclusion, removing and re-installing tape-in hair extensions can be a straightforward process if approached with care and patience. By following the step-by-step guide outlined in this blog, you can minimize the risk of damage to both your natural hair and the extensions. Remember to use the right products and tools, such as adhesive remover and a gentle comb, to ensure a smooth removal process. Taking your time and being gentle during the removal will help prevent unnecessary stress on your hair.