Are you tired of ending up with lackluster curls or, worse, damaging your precious locks? Don’t fret! In this blog, we’ll reveal the most common curling wand mistakes people make when using a curling wand and provide you with expert tips on how to correct them. Say goodbye to frizzy, uneven curls, and say hello to gorgeous, salon-worthy waves that will turn heads everywhere you go. Let’s dive in and unlock the secrets to achieving flawless curls with your curling wand.
I. Why Are Curling Wands So Amazing?
A hair styling wand is now a must-have item in most stylists’ toolkits, and it’s easy to see why. Unlike their cousins, the curling iron, they’re not going to leave dents in your hair thanks to the clip. They’re also much better for more natural-looking curls, rather than big, formal-style curls that you’ll get with wands. They’re the way to go if you want beautiful curls but want to be more subtle about them. Curling wands are indeed awesome for several reasons. Here are a few key reasons why they are highly regarded by many:
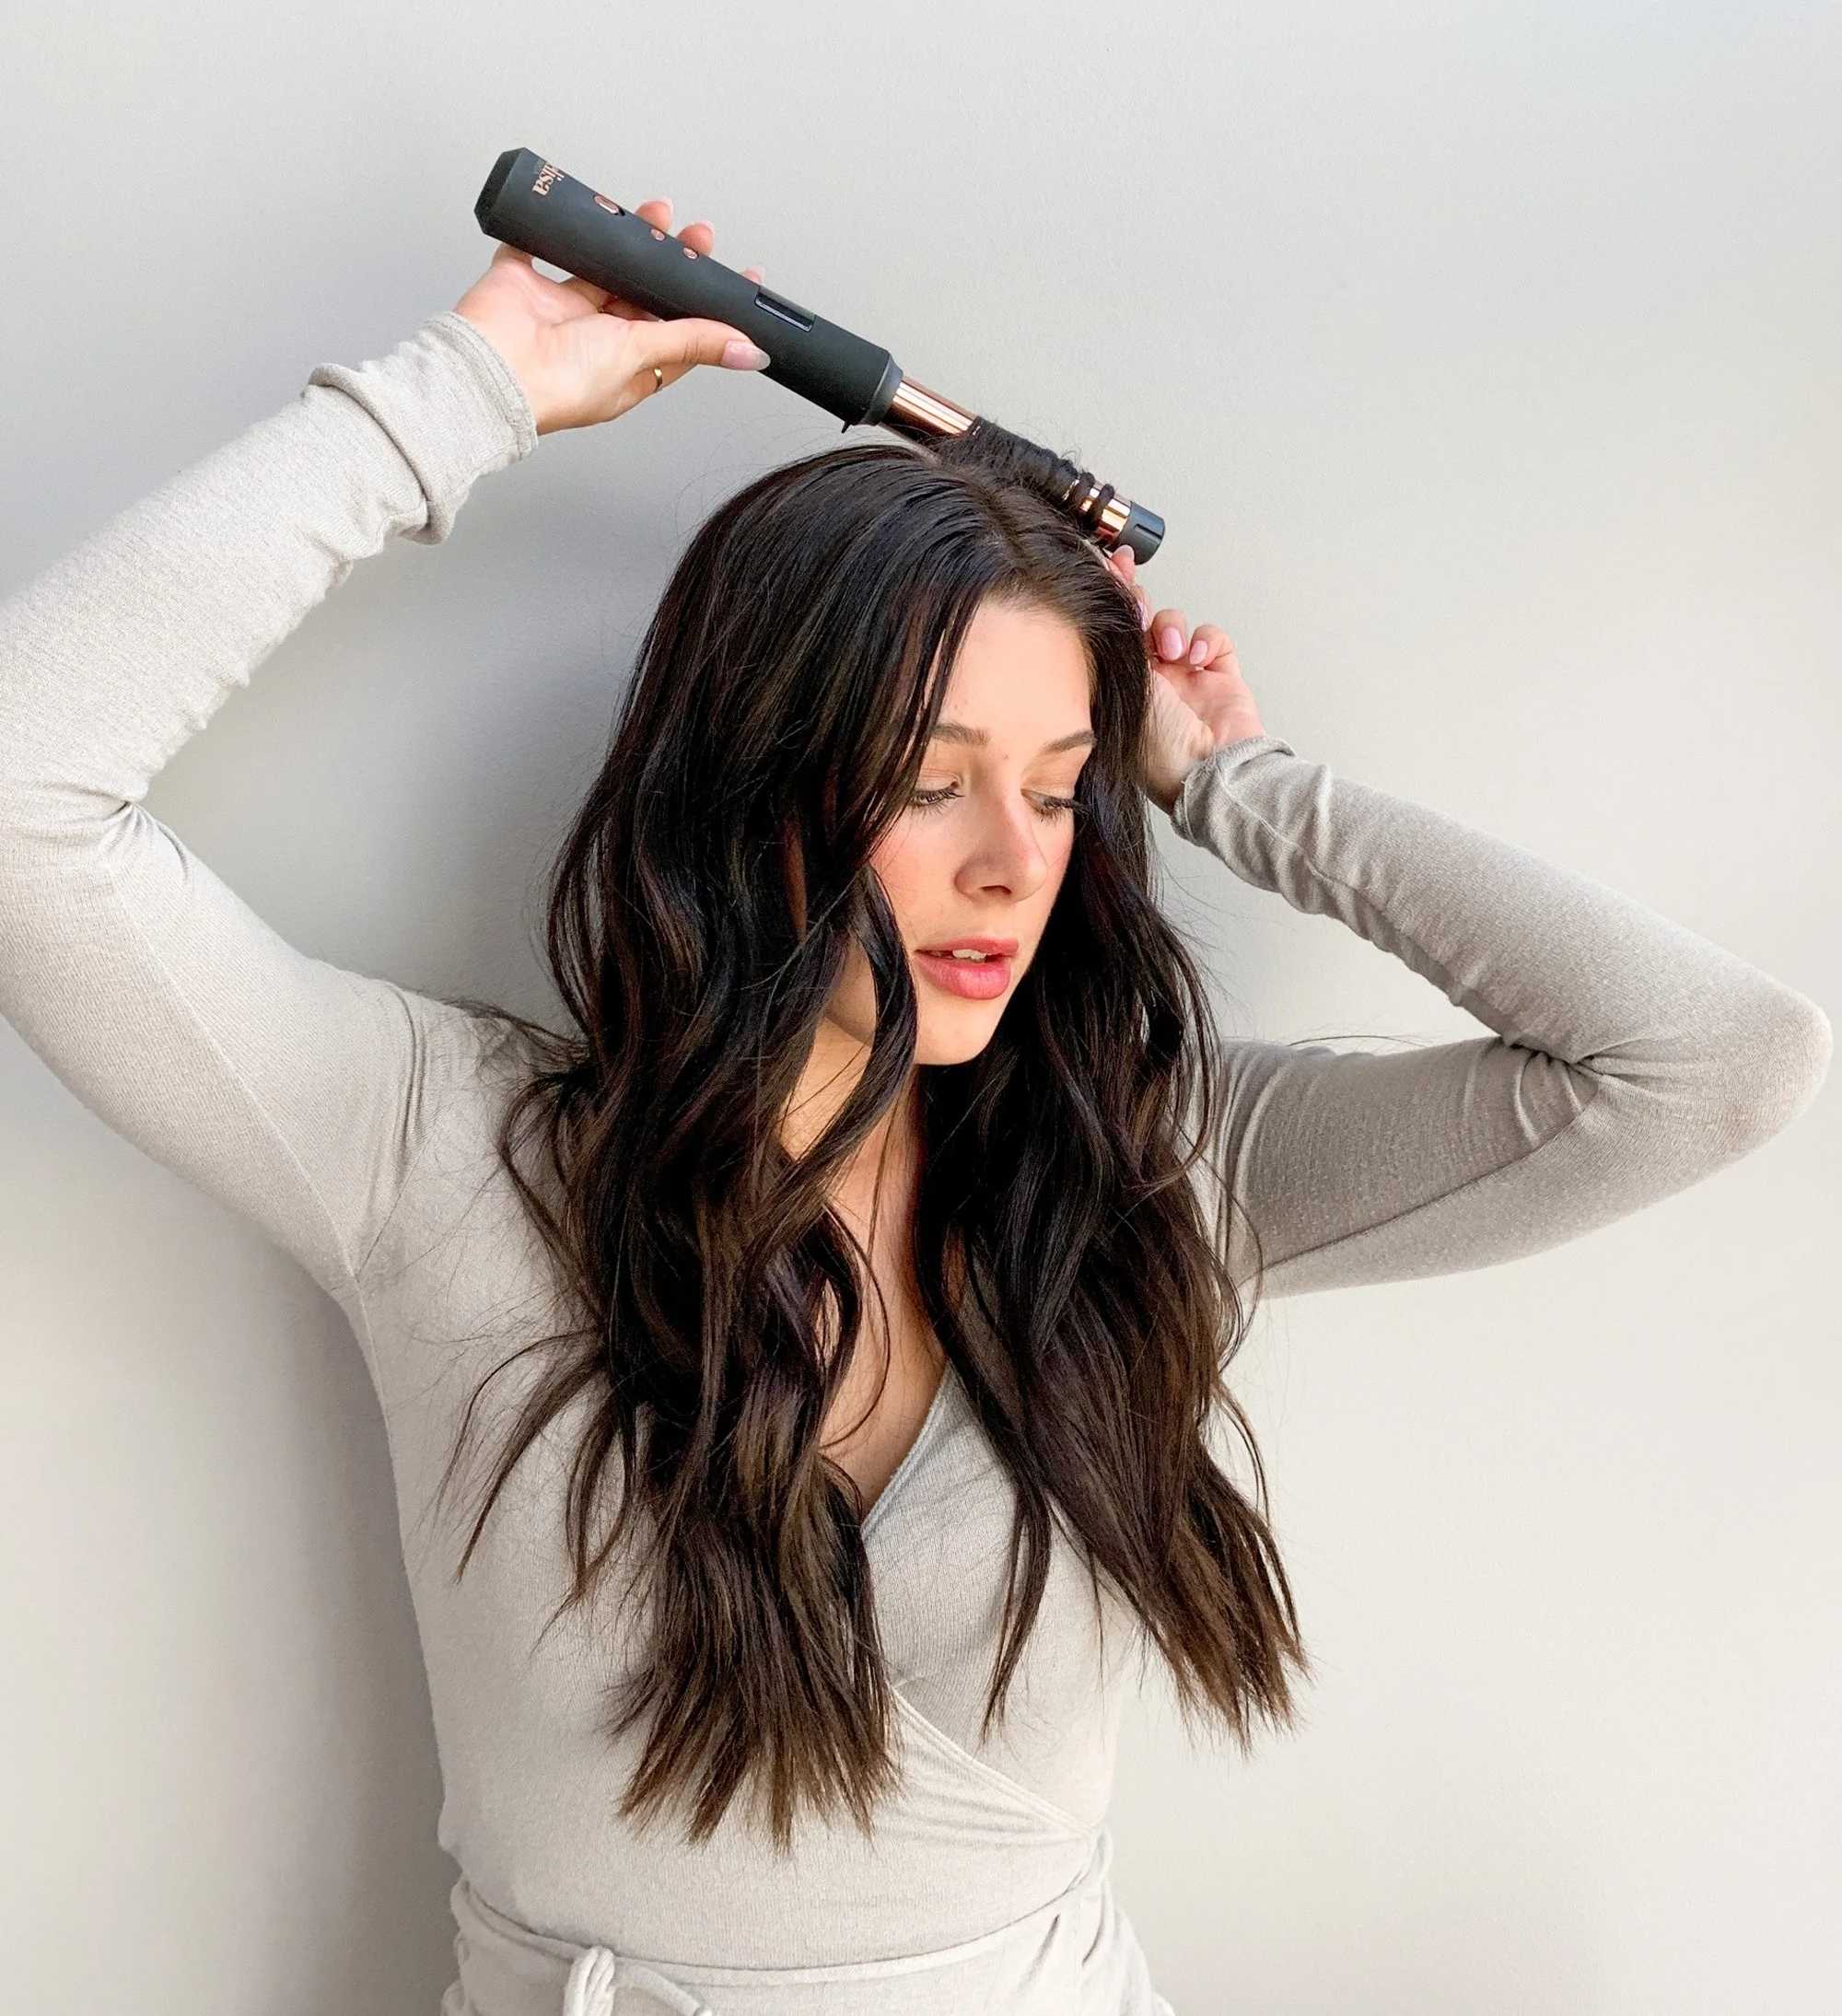
- Versatility: Curling wands allow you to create a wide range of hairstyles and curl patterns. Whether you want loose beachy waves, tight curls, or voluminous curls, a curling wand can help you achieve the desired look. You can also vary the size of the curls by using wands with different barrel diameters.
- Ease of Use: Curling wands are relatively simple to use, even for beginners. They typically have a single, cylindrical barrel without a clamp, which means you only need to wrap your hair around the wand and hold it for a few seconds to create a curl. This makes them faster and more convenient than traditional curling irons.
- Heat Distribution: Curling wands are designed to distribute heat evenly along the barrel, ensuring consistent curls throughout your hair. This feature helps minimize the risk of heat damage and prevents uneven curling, providing you with smooth and uniform results.
- Long-lasting Curls: The heat from a curling wand can effectively set the curls in place, making them last longer than some other curling methods. The curls created with a wand often have better-staying power, especially when paired with a heat-protectant spray or styling product.
II. Curling Wand’s Common Mistakes & How To Correct Them
Using a curling wand can be a bit tricky, especially if you’re new to styling your hair. Here are some common mistakes people make when using a curling wand and how to correct them:
Curling Wand Mistakes #1: You’re Using The Wrong Size Barrel.
Selecting the right barrel size is essential for achieving the desired curl. Be very selective with the size of your curling iron or wand because every size creates different curls and each size affects how long your curls will last.
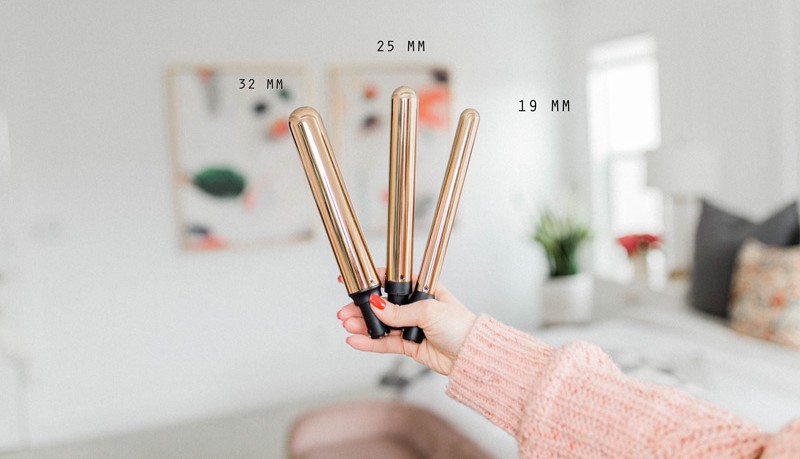
Correct this mistake by understanding the look you want to achieve and selecting the appropriate barrel size accordingly. Here are our recommendations:
1. For Short Hair, Use The 19 Mm Barrel.
If you have shorter hair you’re going to need the smaller barrel – even if you want those loose waves. Curl with the smaller barrel and if your curls are too tight then relax the curls by brushing them out.
2. For Medium-Length Hair, Use The 25 Mm Barrel.
25 mm barrel creates a more defined curl at first but the curls relax day after day and just get prettier and prettier. This size works well on all hair lengths but specifically medium-length and long hair.
3. For Long Hair, Use The 32 Mm Barrel.
When you have long hair you can typically get away with any size. The 19mm barrel will create more defined curls, the 25mm will get you waves that will last a few days, and the bigger 32mm barrel will create those gorgeous loose waves right away. The bigger the wave, though, the less room there is for it to relax before falling out. Keep that in mind when you’re curling your hair.
Mistake #2: You’re Skipping The Heat Protectant
Neglecting to use a heat protectant spray before curling your hair can cause damage and breakage. Damaged hair is more porous and won’t hold a curl anywhere near as well as healthy hair. Heat protectant sprays create a barrier between your hair and the heat, reducing the risk of heat-related damage. The more you skip the heat protectant the more damage you’ll cause so you need to make sure you’re applying it every time you style your hair.
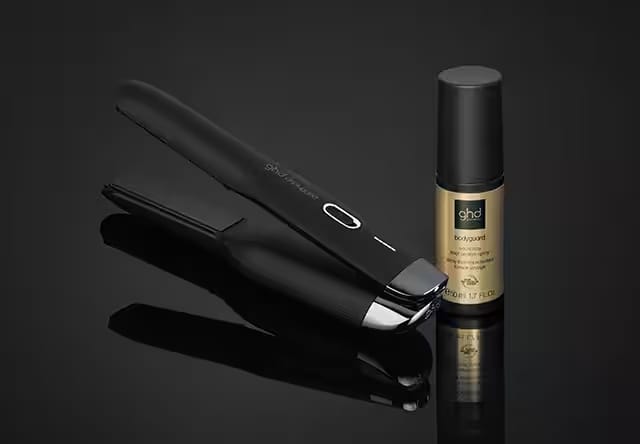
Here at AZ Hair, we love the GHD Heat Protect Spray which provides full heat protection while conditioning your hair.
Curling Wand Mistakes #3: Cranking Up The Heat Setting Way Too High
It’s tempting to crank the temperature of a curling wand up to the highest because the higher temperature, the faster you can curl your hair. However, too much heat can cause extreme damage very quickly. No matter how thin or thick your locks are, you should never set a heat tool to 400 degrees (the maximum on most tools).
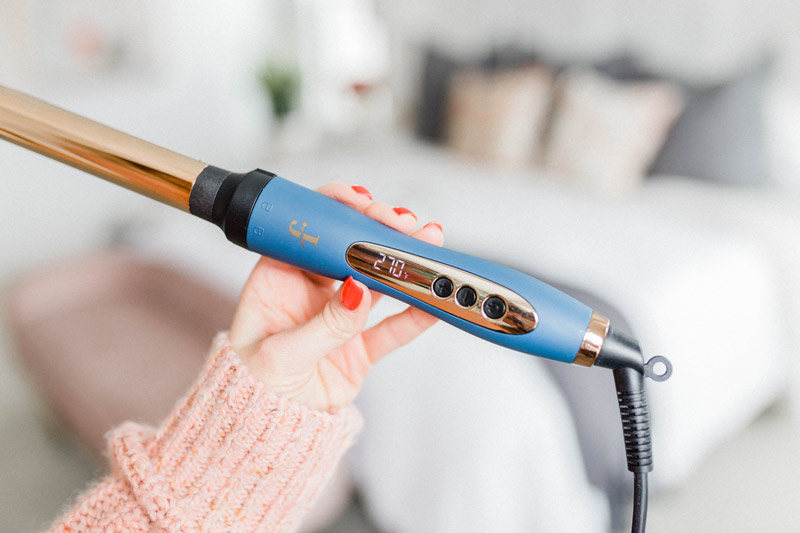
- For fine hair, we recommend 270-300.
- For regular hair, we recommend 300-350.
- For coarse hair, we recommend 350+ and try to keep it under 400 degrees.
Mistake #4: You’re Taking Too Big of Sections.
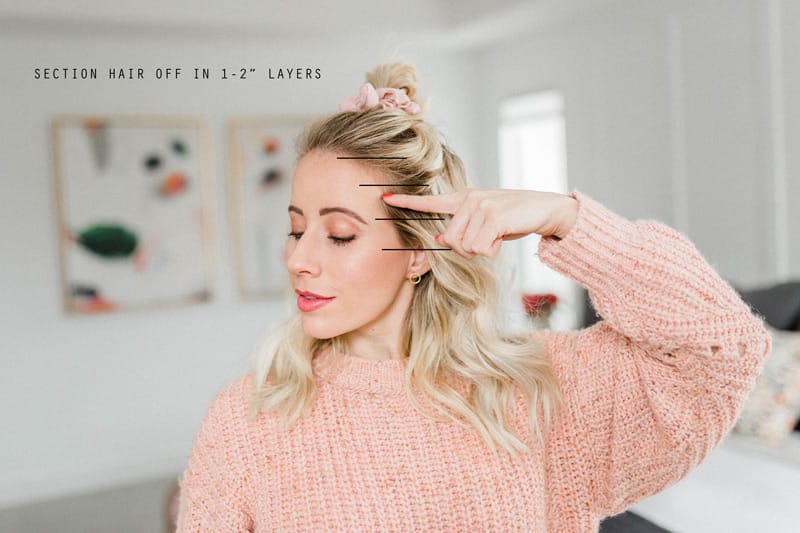
Overloading the curling wand with too much hair can result in uneven curls or hair that don’t curl at all. It’s better to work with smaller sections of hair for more defined curls. When curling, section your hair layer by layer (4-5 layers). Within those layers, curl one-inch sections of hair at a time.
Curling Wand Mistakes #5: You’re Holding The Wand The Wrong Way
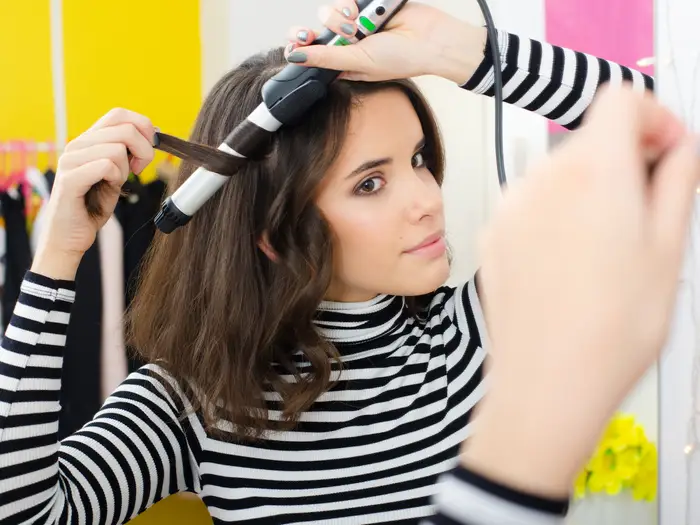
This is a HUGE mistake that a lot of people get hung up on. The direction you hold the curling wand will make a huge difference to the finished curl so you want to make sure you’re being consistent with how you’re holding the wand. Whether you are using a curling iron or wand, you should keep the barrel angled down.
Mistake #6: Holding The Hair On The Wand For Too Long.
Leaving your hair on the wand for an extended period can lead to excessive heat exposure and damage your hair. The ideal time to hold the hair around the wand is around 8-10 seconds, depending on your hair type and the heat setting. Correct this mistake by timing each curl and releasing it promptly after the appropriate duration.
Curling Wand Mistakes #7: Wrapping The Hair In The Wrong Direction
If curling your hair never gives you the exact results you want, that could also be because you’re curling in the wrong direction. If you want a more natural, wavy look, curl away from the face rather than towards the face.
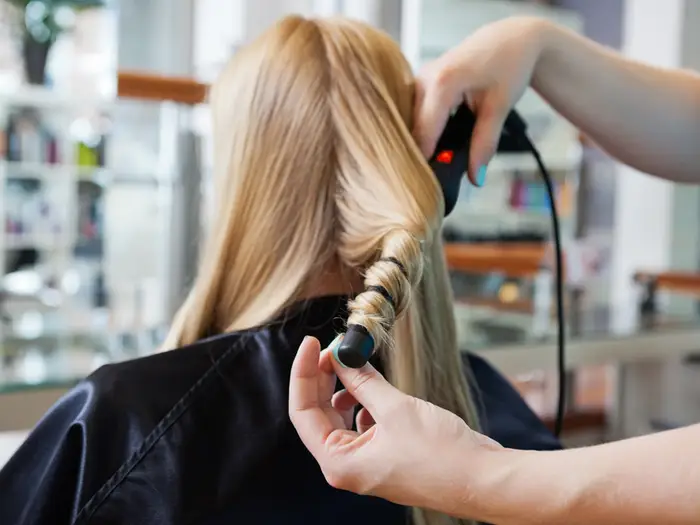
If you want your curls to look glamorous and tight, curl every section in the same direction. If you want your curls to look more effortless, curl certain sections in different directions.
Mistake #8: Not Letting The Curls Cool Before Touching Them
Think about what you do with the section of hair you just curled when easing it off the wand. Chances are, you simply let it fall to your shoulders on its own and move on to the next section.
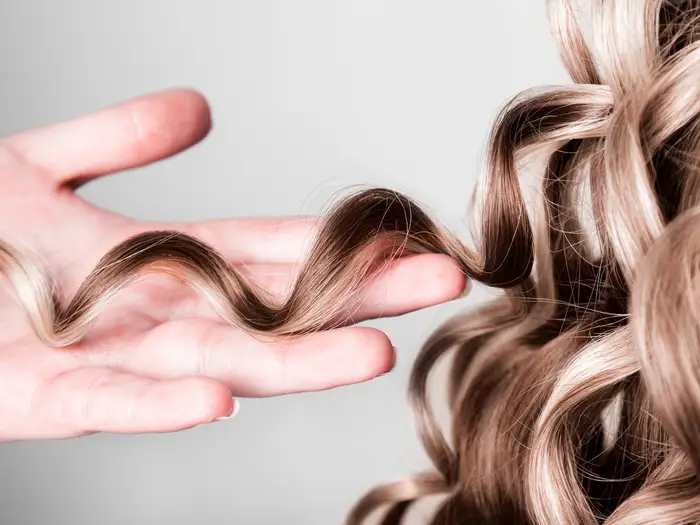
That’s fine, but there’s a better way. If you hold the curl up in the palm of your hand and let it cool that way, it will last longer and come out tighter. You can hold it in your hand, or you can carefully pin it up until you’re all done, depending on the look you’re going for.
III. Conclusion
In conclusion, mastering your curling wand can seem like a daunting task, but with the right knowledge and a little practice, you can achieve stunning, salon-worthy curls. By avoiding these common mistakes and learning how to correct them, you’ll be well on your way to becoming a curling wand pro. Armed with the knowledge gained from this blog, you’re well-equipped to overcome any challenges and achieve the curls of your dreams. Happy curling!


 BEST SELLING PRODUCTS
 Wig Hair
 WHOLESALE
 Contact us
 Sale Events