ABOUT US
 HAIR EXTENSIONS
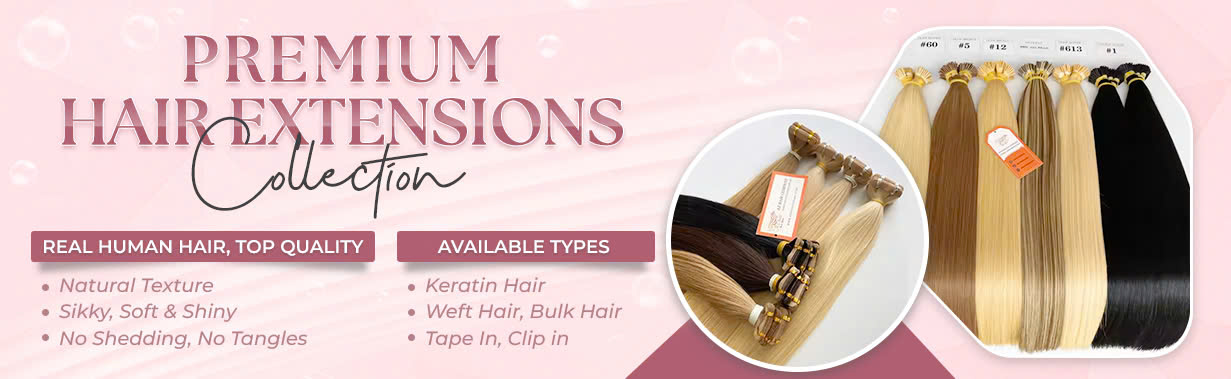
 BEST SELLING PRODUCTS
 Wig Hair
 WHOLESALE
 Contact us
 Sale Events
Welcome to the ultimate guide on maintaining the luscious allure of your clip-in hair extensions! Whether you’re a seasoned extensions enthusiast or a newcomer eager to explore the world of temporary voluminous locks, proper care is the key to longevity and a flawless appearance. Clip-in hair extensions have become a game-changer in the realm of hair styling, offering instant length, volume, and versatility. However, like your natural hair, these extensions require thoughtful care to ensure they stay as radiant and silky as the day you first clipped them in. In this comprehensive blog post, we’ll walk you through the essential steps and tips on how to wash clip-in hair extensions, unveiling the secrets to maintaining their beauty and extending their lifespan.
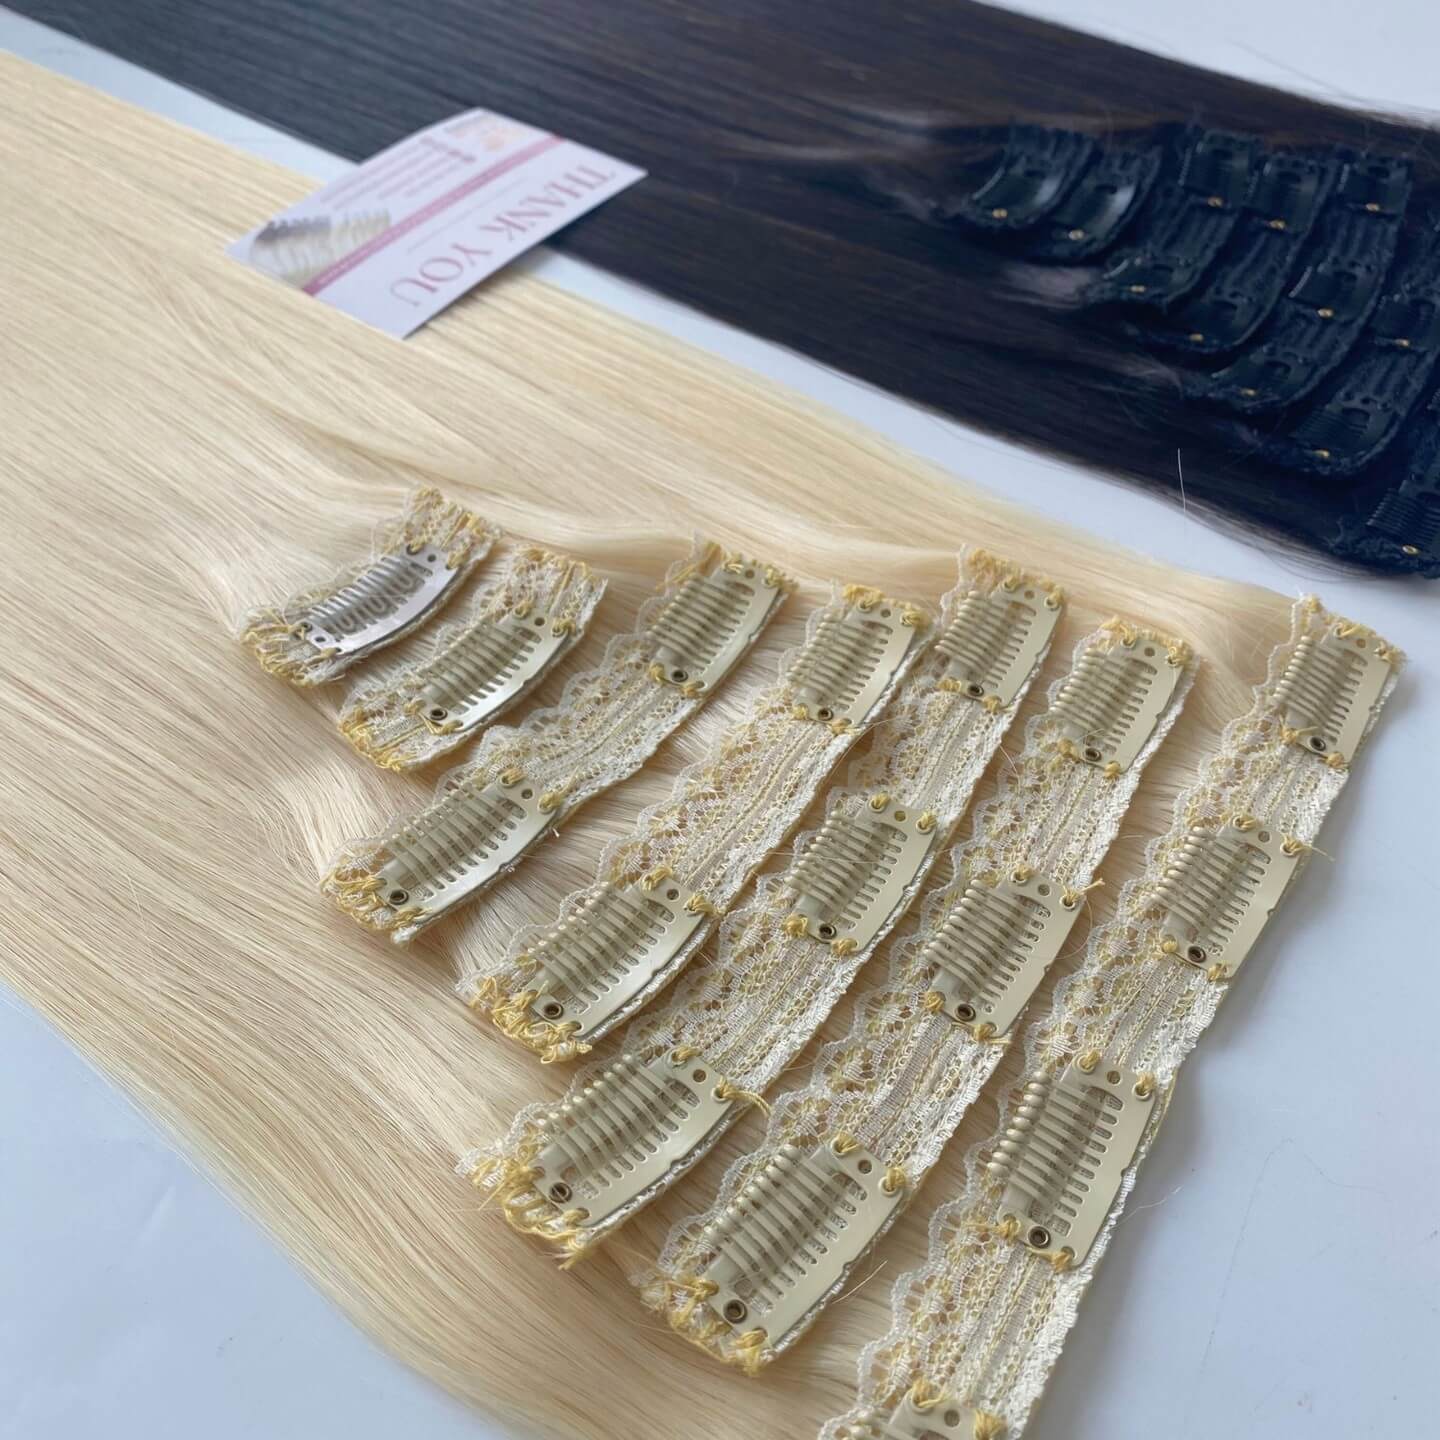
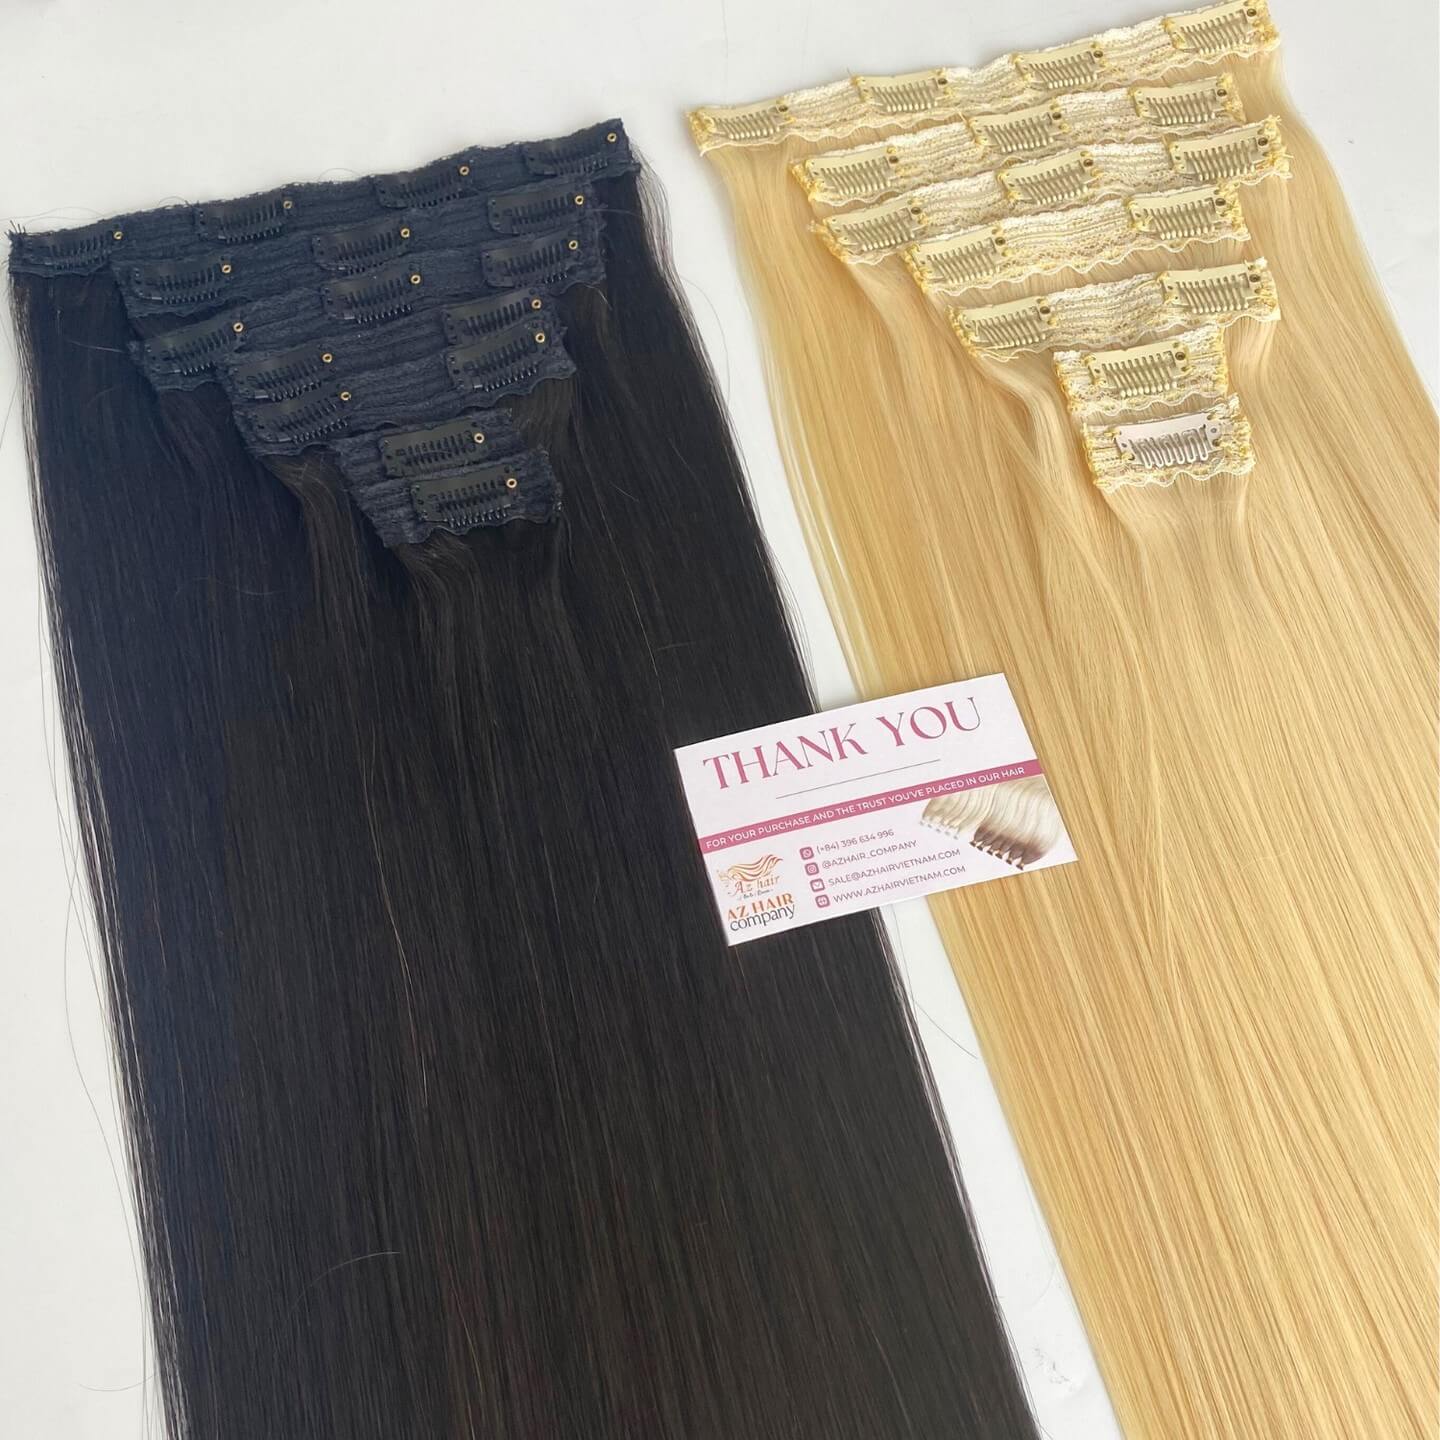
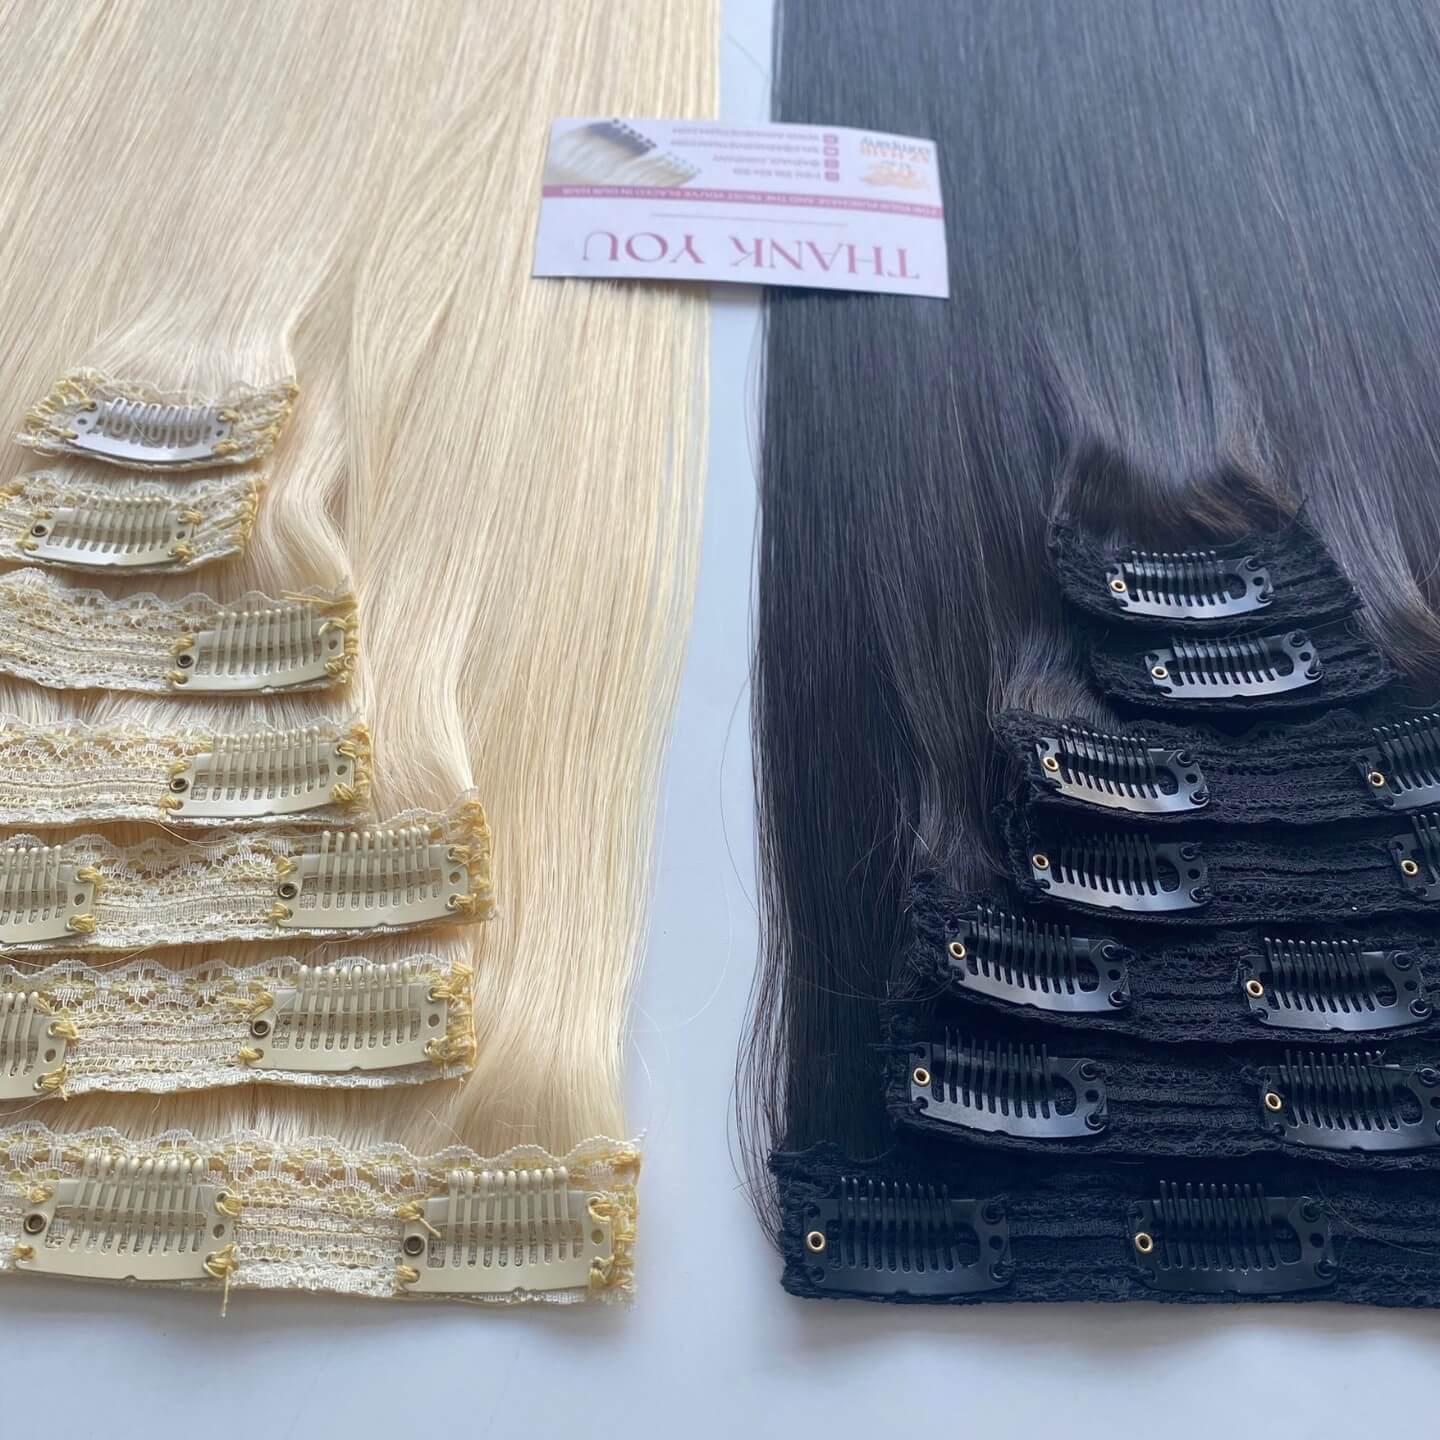
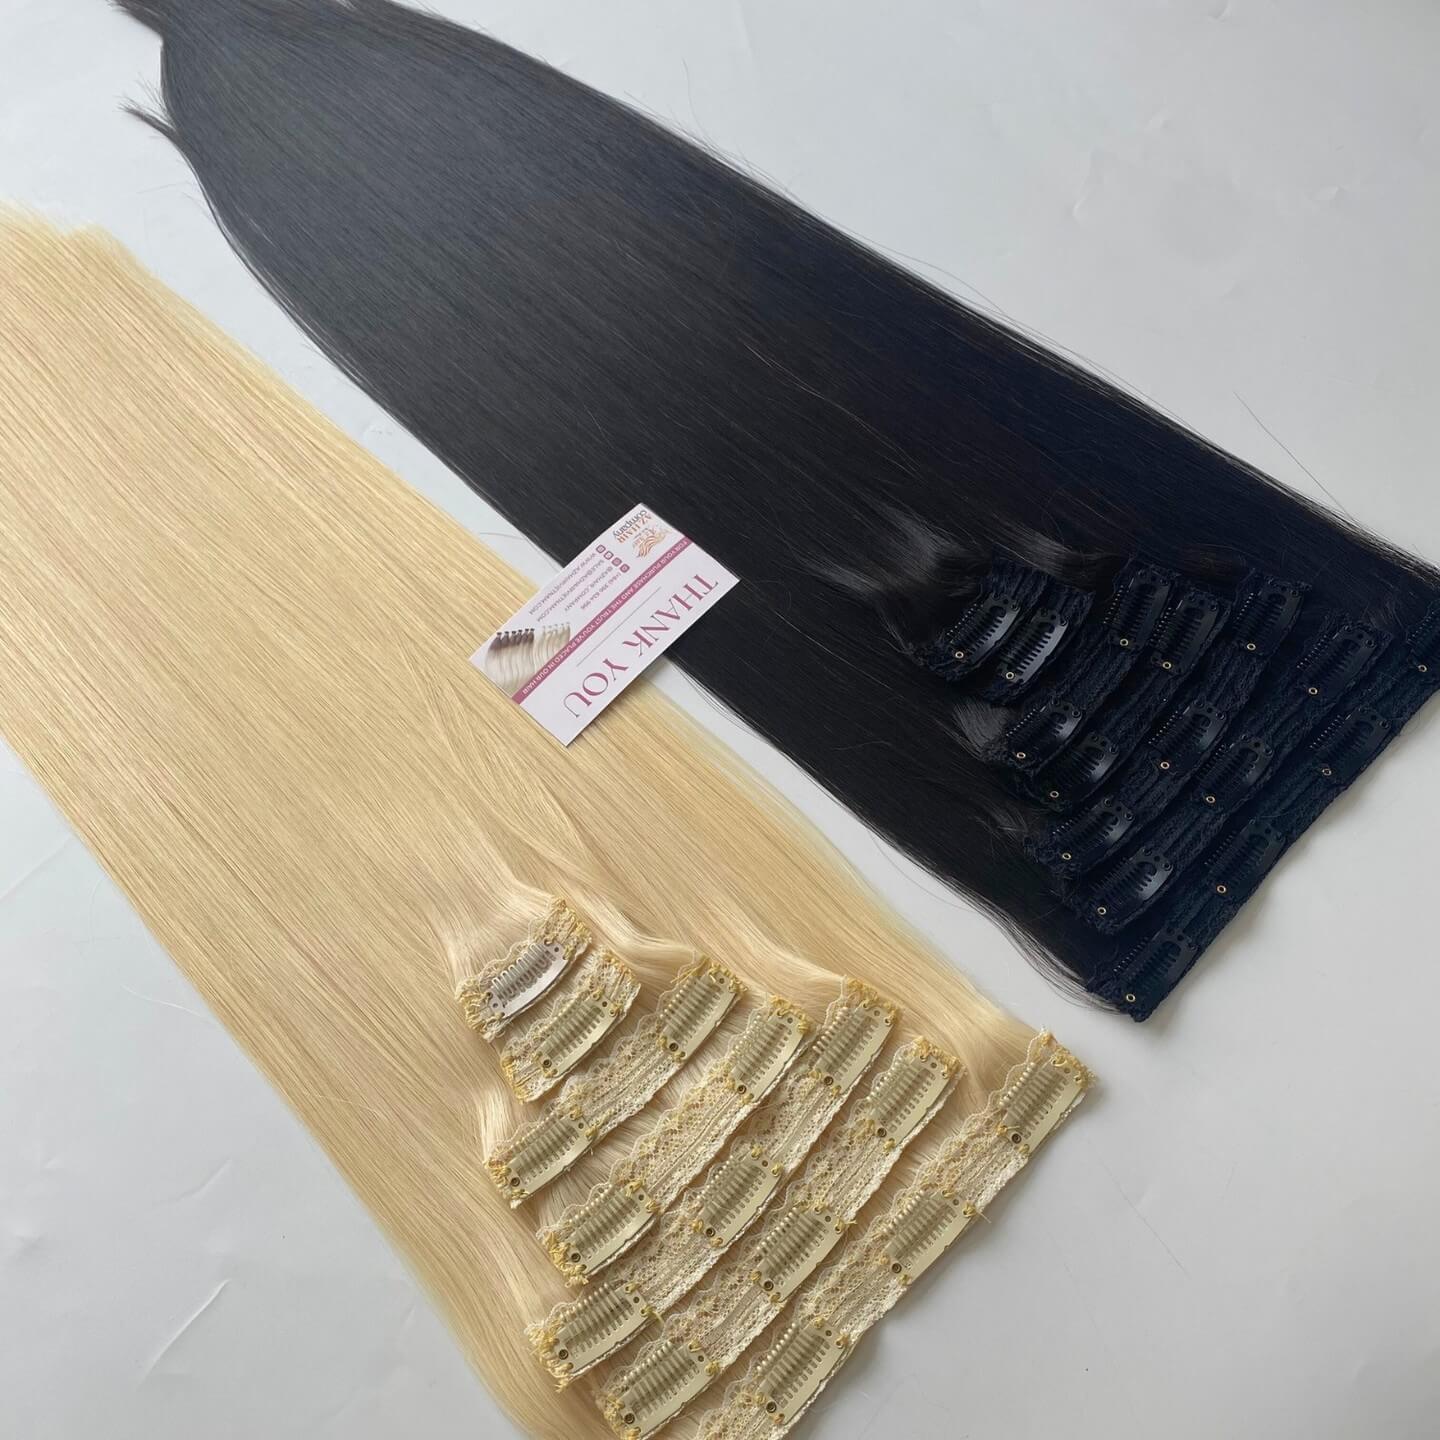
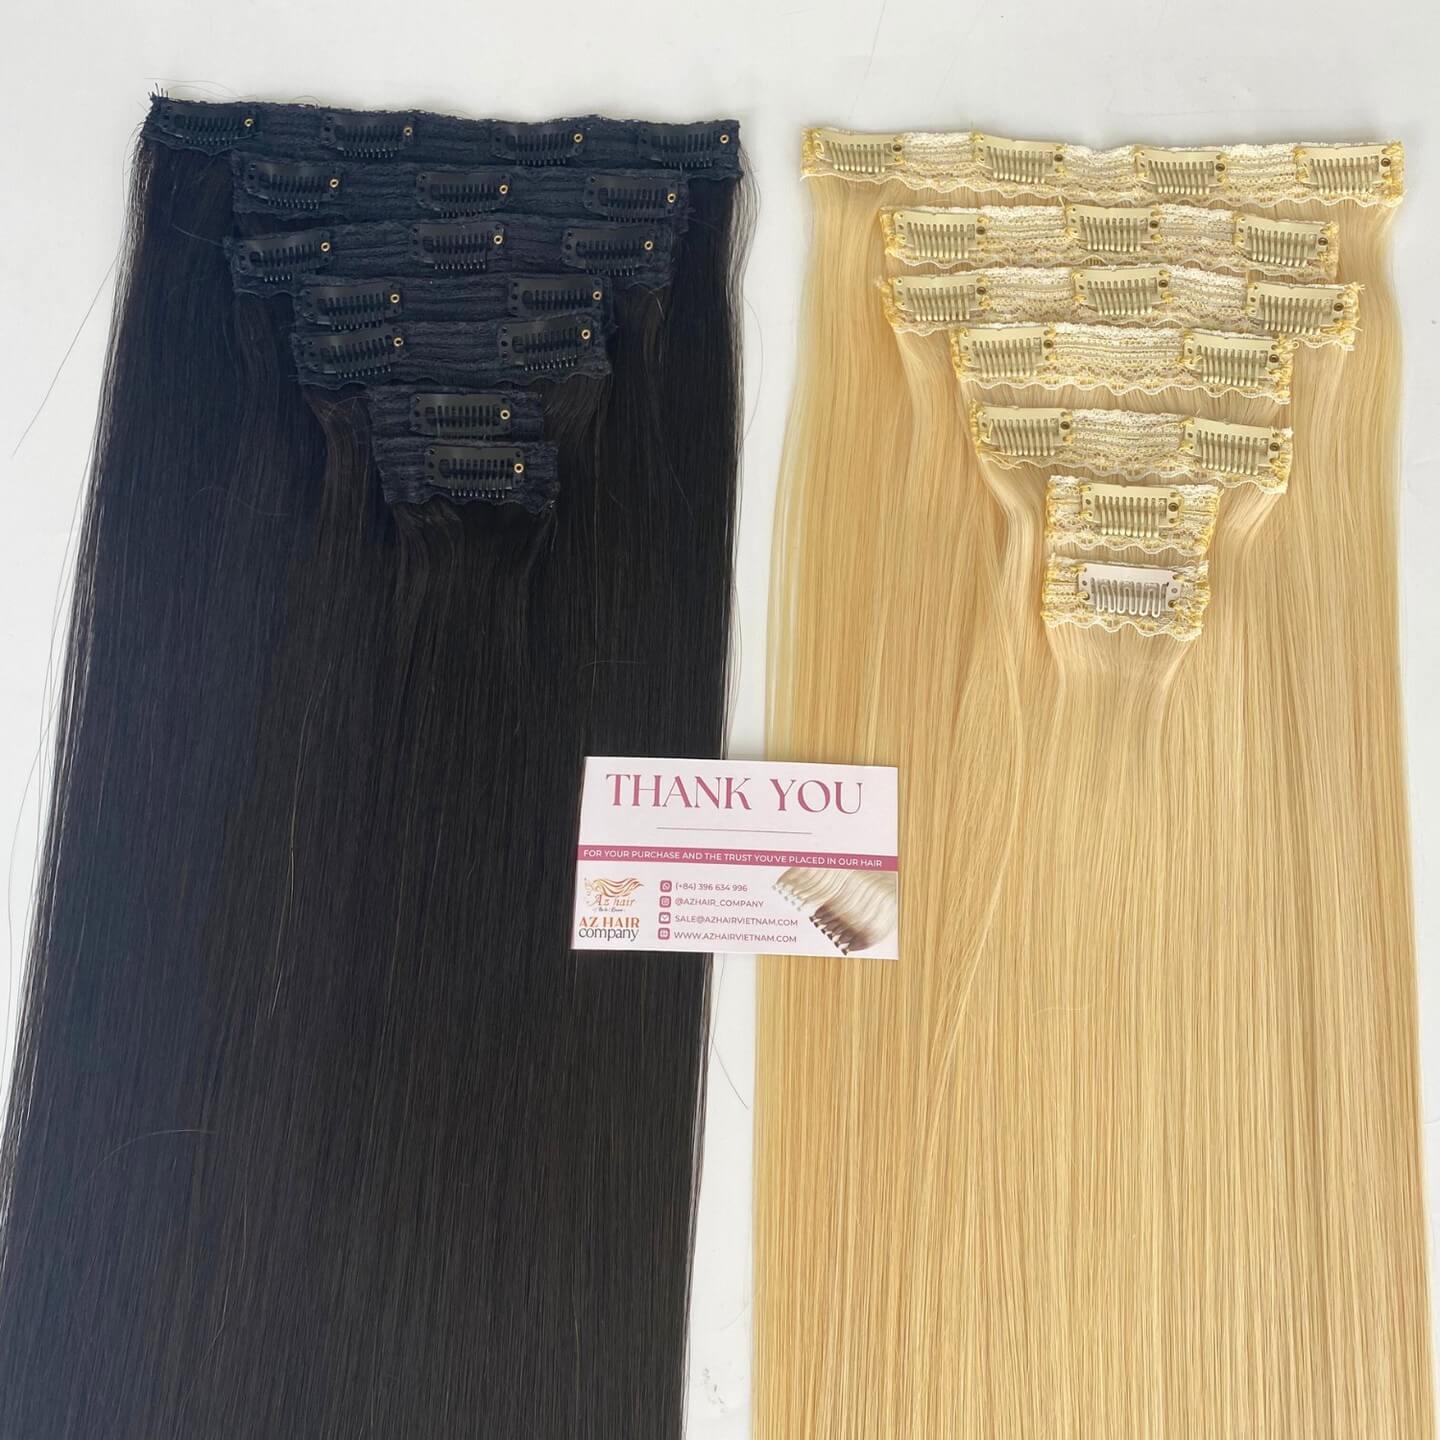
I. What are Clip-in Hair Extensions?
Clip-in hair extensions are a type of hair extension that can be easily attached and removed from your natural hair. They consist of individual wefts of hair with small clips sewn onto them. These clips are used to secure the extensions to your own hair by snapping them into place. Clip-in extensions are a popular and temporary way to add length, volume, or color to your hair without the commitment of more permanent extension methods. Clip-in hair extensions are popular for their convenience and ease of use. They provide a quick way to change your hairstyle for special occasions or just to experiment with different looks.
II. Do You Really Need To Wash Hair Extensions?
When working with clip-in extensions, you might think that it’s totally okay to style and wear them out, only to take them then out and set them aside for your next wear. In reality, it’s important to remember to treat your extensions as you would your real hair. Washing helps to remove product buildup, dirt, and oils that can accumulate over time. Clean hair extensions not only look better but also feel more comfortable and natural.
While you don’t need to wash your clip-in hair extensions every single time you wear them, it’s best to wash them when you feel them tangle or when you notice them starting to lose their softness and bounce. Excessive build-up in the extensions (products, sweat, dirt, hair spray, oils, etc.) without washing will cause dryness, tangling, and matting. However, washing too much may lose the integrity of the hair. So what frequency is suitable for washing your hair extensions?
III. How To Wash Clip-in Hair Extensions?
Maintenance is everything when it comes to clip-in hair extensions. Taking special care of them can make them last longer and look their best all the while. It’s important to follow the care instructions for your specific clip-in extensions to ensure their longevity and maintain their quality.
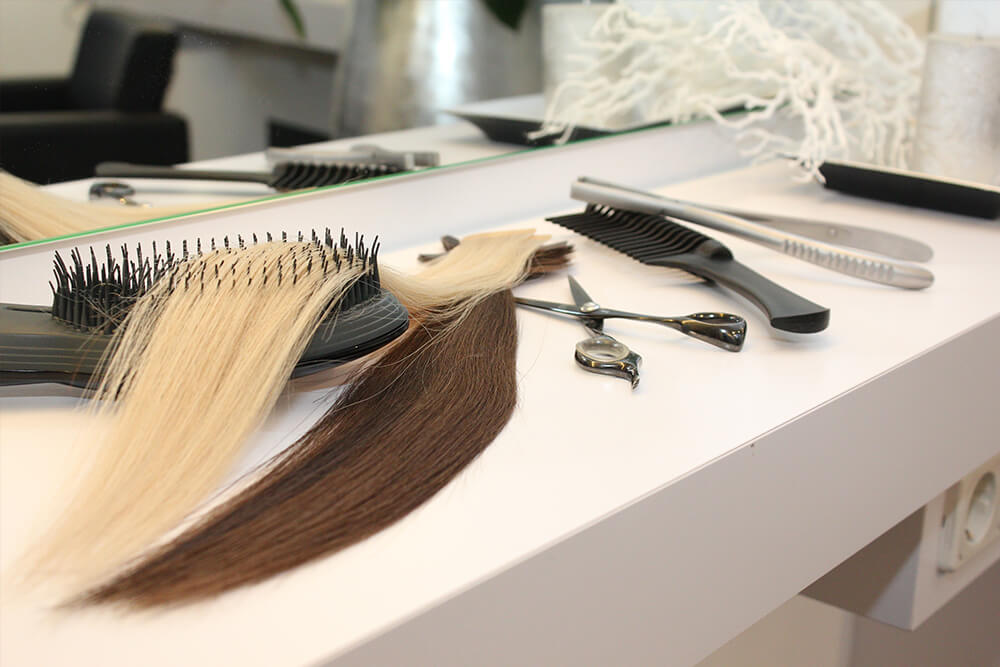
#1 - Comb and Separate Hair Extensions
Before introducing any shampoo or conditioner to your clip-in extensions, you should begin by separating them (since there are often multiple clip-in pieces) and comb each to ensure they’re free of knots, and tangles.
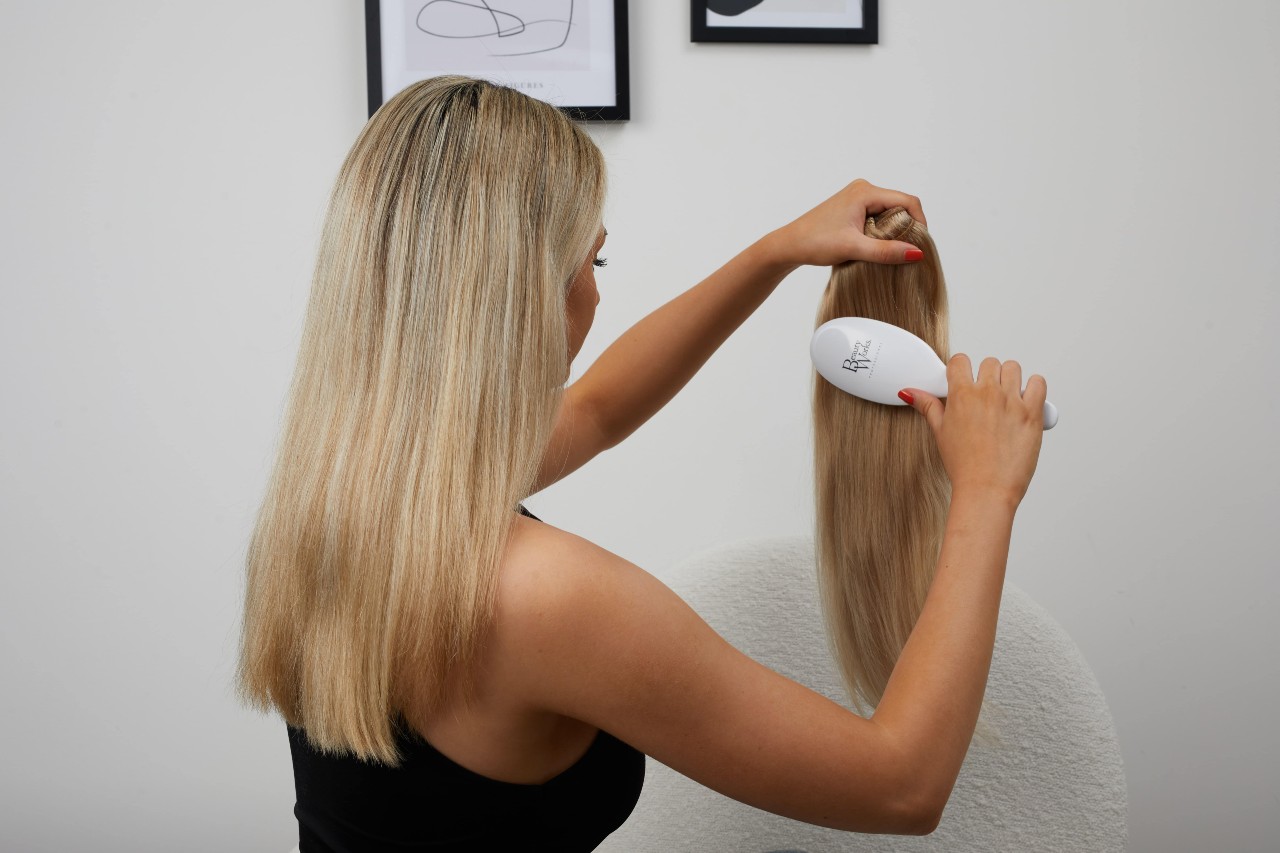
Carefully and thoroughly brushing your extensions is essential for a successful washing-up process. Gently remove tangles from the ends, and work up to the weft area. When working with clip-in extensions, you want to be mindful of the brush you’re using, make sure you use a hair extensions detangling brush (or a wide-toothed comb) to effectively get rid of knots and tangles in a smooth, seamless way without damaging the clips and seams.
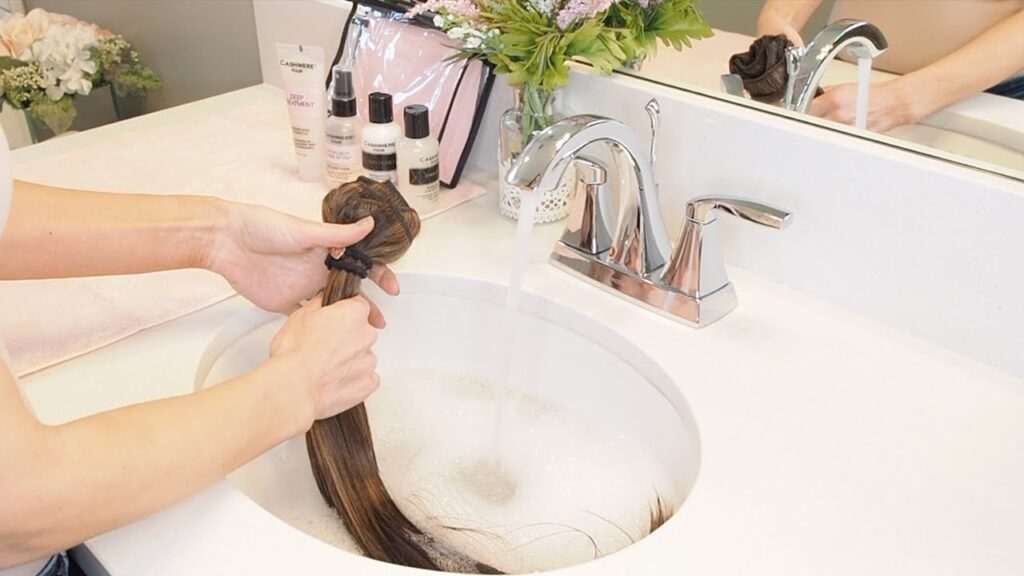
How To Wash Clip-in Hair Extensions #2 - Fill the Sink or Bath With Warm Water
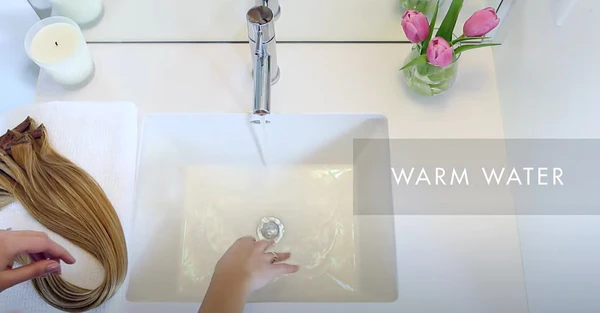
Ensure that your sink or bath is clean before washing your hair extensions. Place your hair extensions in a container in your bathtub or in the sink, closing the drain so that you can fill it with water. Make sure your hair is completely soaked in the water, preferably at a lukewarm temperature – not too hot, not too cold either. Boiling water will damage the fiber of your hair and leave it dry, brittle, and prone to tangling; ice-cold water, instead, will close the hair cuticles and disrupt its absorbing powers.
#3 - Shampoo and Conditioner
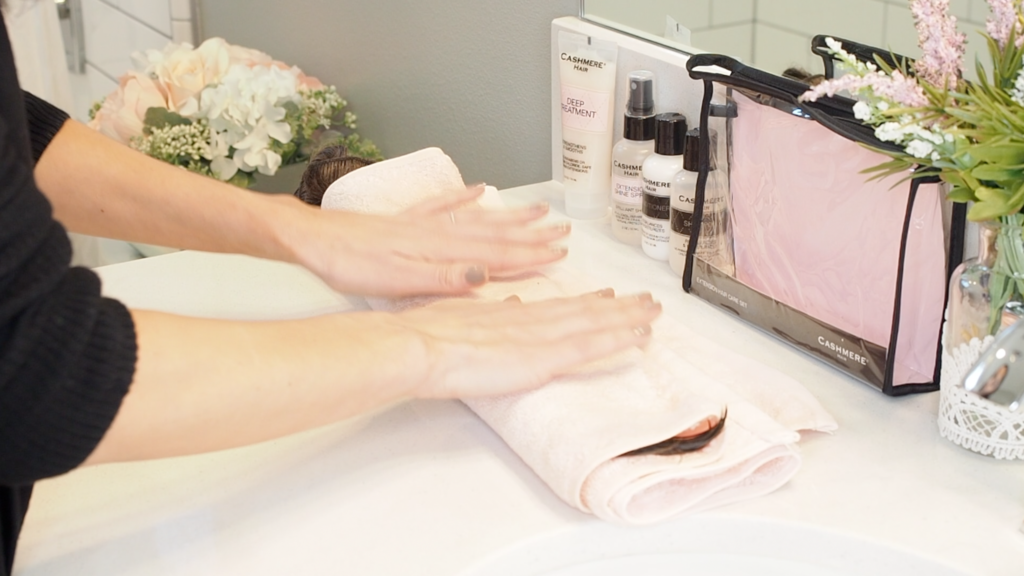
Once soaked, use a quarter-sized amount of sulfate-free, color-safe shampoo and start gently washing the extensions from base to end to wash out all the product build-up. Remember not to get the clips wet in the process. Then rinse your extensions with plenty of clean lukewarm water, and then pat them in a soft towel to soak up the excess water. Doing this will help your conditioning treatment to better penetrate the hair shaft, for deeper hydration and softening effects.
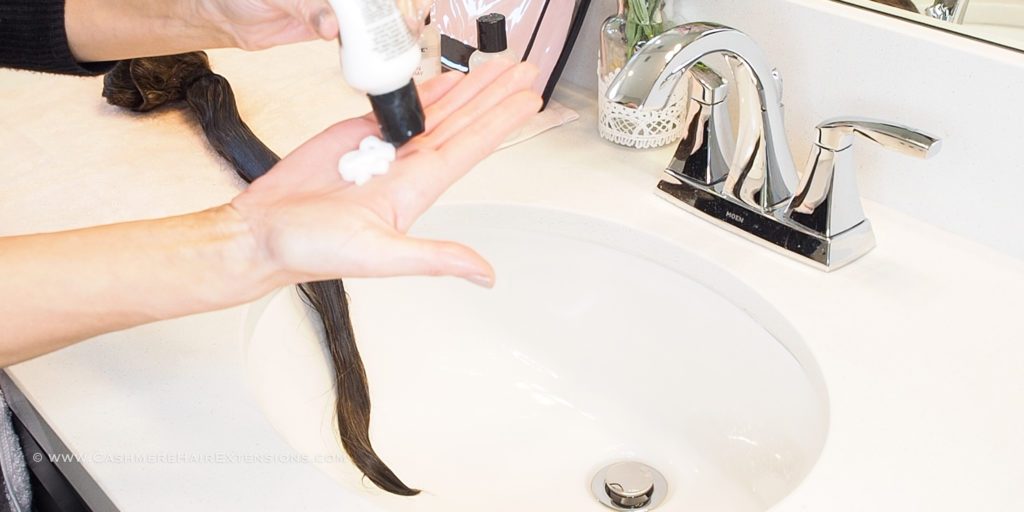
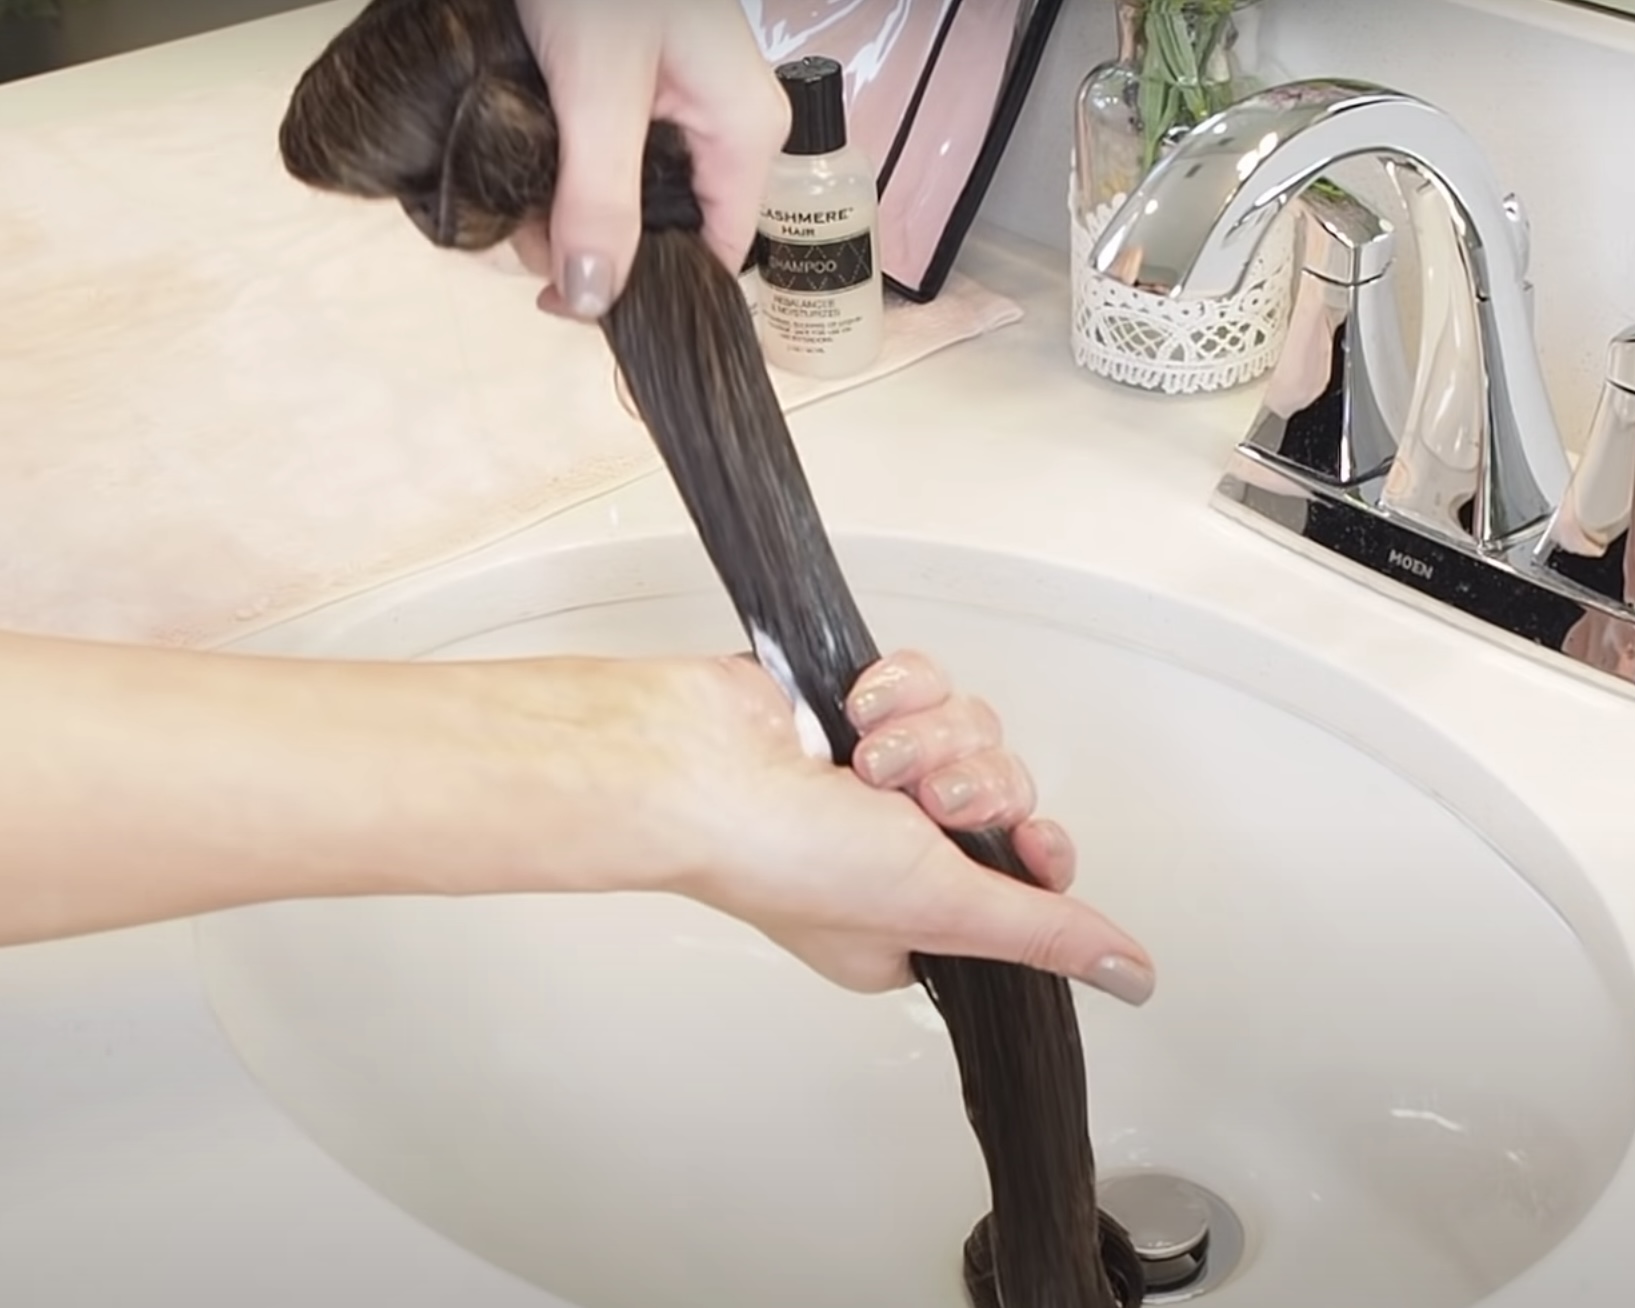
Use conditioner every time you wash your clip-in extensions – it’s a total must-have. Use a quarter-size amount of conditioner and massage it in. Gently apply it from top to bottom and then comb it through with a wide-tooth comb starting at the ends and working up to the weft. Leave the conditioner in the hair for 3-5 minutes for best results and then rinse it with cool water and gently squeeze any excess water from top to bottom.
CHECK THIS OUT: The Best Shampoo And Conditioner For Hair Extensions
How To Wash Clip-in Hair Extensions #4 - Deep Conditioning
This treatment only needs to be used every once in a while and not with every wash. Use about a quarter-sized amount and apply it just to the ends of the hair, working it through the strands. You can let the deep treatment sit for about 5 to 10 minutes, and then again, fill your sink with fresh lukewarm water and rinse. You want to make sure to get all of your conditioner or deep treatment out of your clip-in hair extensions, making sure not to leave any residue behind. This deep conditioning treatment, super-charged with proteins and extracts, restores moisture, strengthens, stops frizz, and reduces hair breakage.
#5 - Leave To Air Dry
The best way to dry your clip-in hair extensions is by leaving them to dry naturally. You can do this by setting them aside on a towel or flat surface or hanging them in a well-ventilated area so that they can air dry. While switching on the hair dryer might be tempting for a quicker solution, it’s best to avoid this as it could damage your extensions.
→ Knowing how to wash clip-in extensions isn’t the only way to take care of them. You should never sleep with them in, cuz this can actually cause pulling and hair loss to areas where you clipped in your extensions. Just remember to be nice to your extensions, and they will help you live your best hair fantasy.
CHECK THIS OUT: Hair Washing Hacks For Healthy Hair
IV. Conclusion
In conclusion, maintaining the beauty and longevity of your clip-in hair extensions is crucial for achieving that flawless, natural look. Washing your extensions with care is a simple yet effective way to keep them in optimal condition. By following the steps outlined in this guide, you can ensure that your clip-ins remain clean, soft, and lustrous, allowing you to enjoy them for many more wears.