ABOUT US
 HAIR EXTENSIONS
 BEST SELLING PRODUCTS
 Wig Hair
 WHOLESALE
 Contact us
 Sale Events
Whether you’ve ventured into the salon or do your own hair at home, styling can be a hassle – especially if you enjoy changing up your look on a regular basis. But, that’s why wigs exist. Wigs have become a lasting staple in the hair business. Making a wig for everyday use can be a difficult, time-consuming task, but with the proper guidance, even a beginner also can create an amazing wig for themselves as long as they have the right tools and plenty of patience. This detailed guide will teach you how to make your own wig for the first time! And once you get the hang of it, you’ll be a pro in no time.
I. How To Make A Wig: Taking Measurements
When it comes to size, the most popular option is average. Not all wigs, however, are one-size-fits-all. It’s a good idea to measure your head size first if you want it to sit comfortably on your head (and look the most natural). It will be easier to find a wig (and wig cap) that fits perfectly on your head once you have your exact measurements. The three basic measurements you’ll need are as follows:
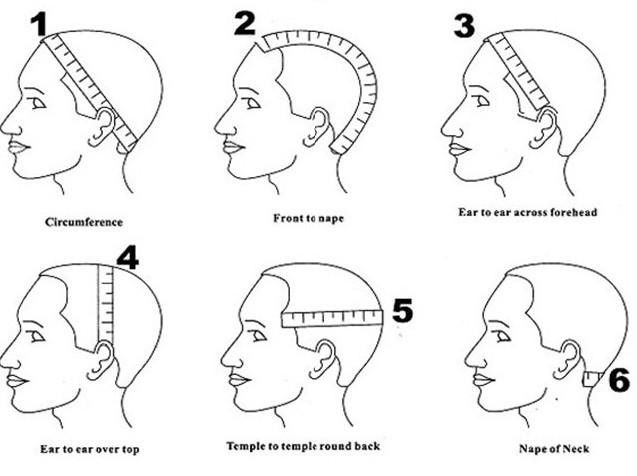
1. Measure Around The Head At The Hairline (Circumference)
Use a cloth tape measure to measure along the hairline. The tape measure should extend from the base of your hairline at your neck to the top of your hairline at the forehead.
- The tape measure should wrap just above the ears on either side of your head.
- Do not pull the tape measure. It should lie flat against flattened hair, but it should not be taut.
2. Measure Down The Center Top Of Your Head (Front to Nape)
Place the end of a cloth tape measure at the center of your forehead, matching the end of the tape measure to the beginning of your natural hairline. Drape the tape measure over the crown of your head and down to the middle of the nape, where your natural hairline ends.
3. Measure From One Ear To The Other (Ear to Ear Across The Forehead)
Bring the end of the cloth tape measure to the uppermost point at which your ear connects to the rest of your head. Drape the tape measure over the crown of your head and back down to the same position as the opposite ear. You also can watch this detailed tutorial on these measurements in the video below, including three additional sizes for a better fit.
II. What Products and Tools Will I Need To Make A Wig By Hand?
I’m not going to lie: you’re going to need a lot of tools to get started. However, the good news is that you may already have some of these items at home.
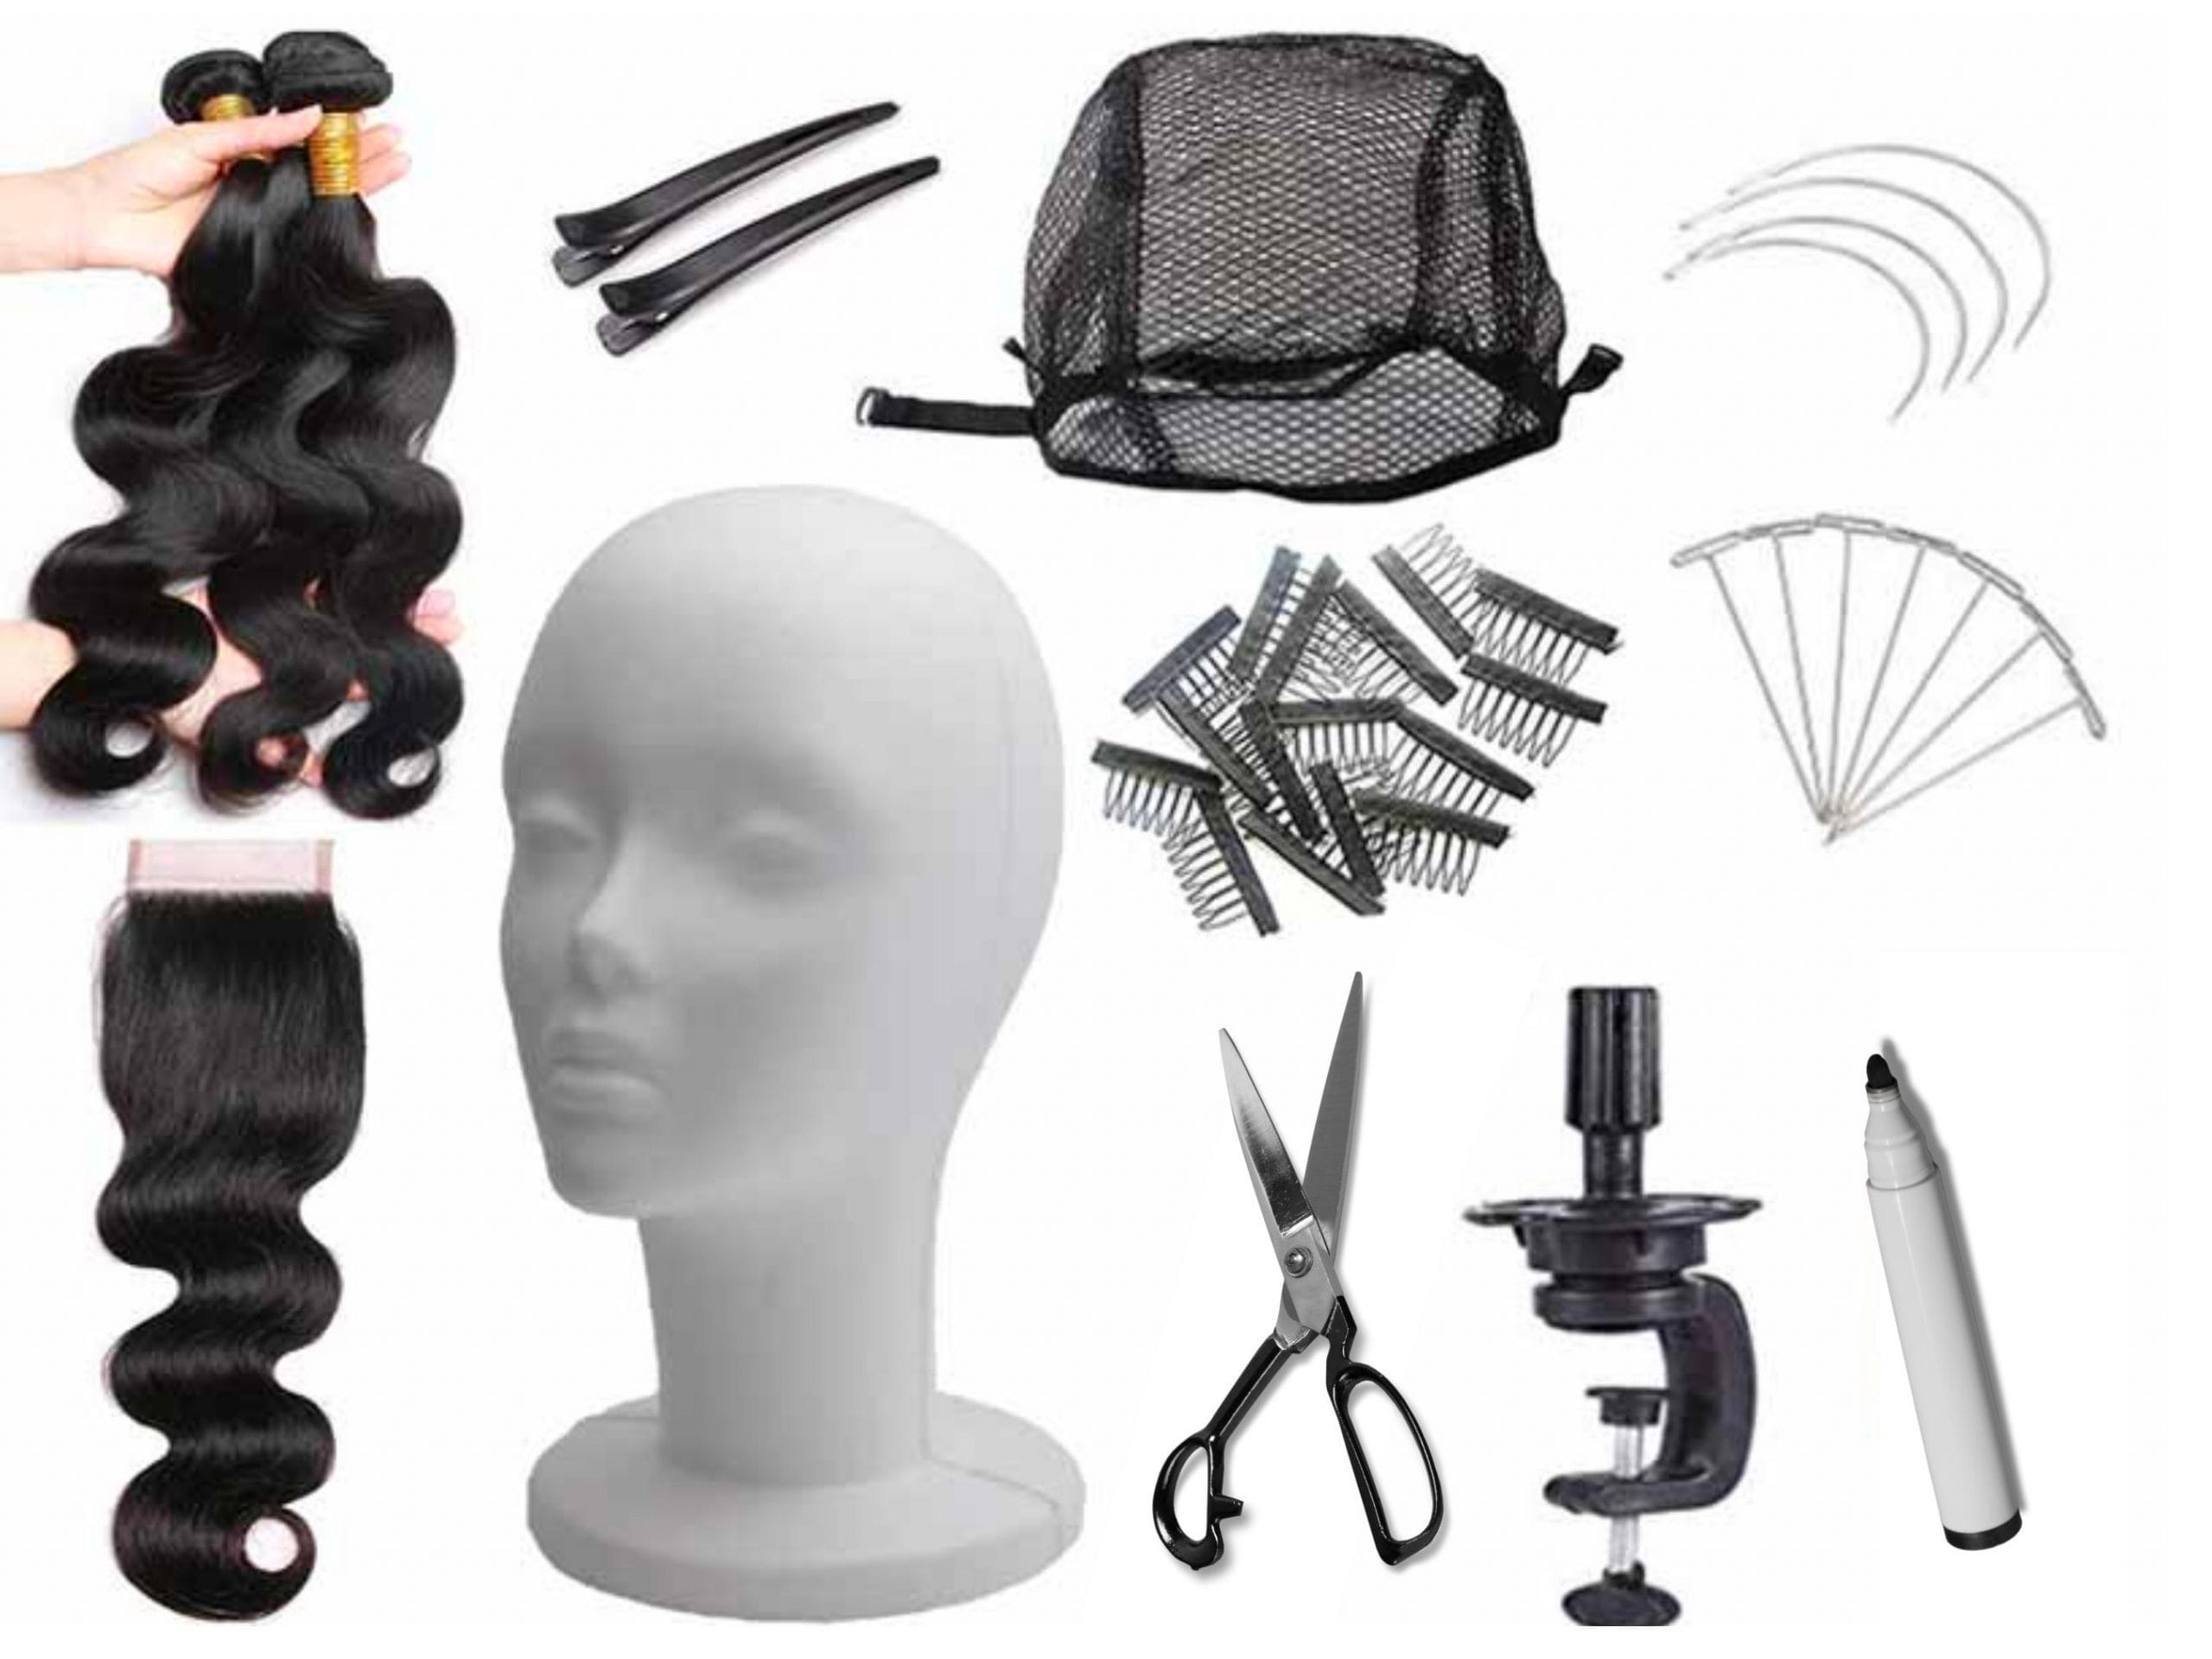
- Closure/ Frontal
- Weft hair Extensions (3-4 hair bundles)
- Dome Wig Cap
- Metallic Marker
- T-pins
- Mannequin head (Preferably with wig stand)
- I, J, and C-shape Needle & Thread (or Sewing Machine)
- Sewing Scissors
- Hair clips
- Wig combs (Optional)
Above is everything you’ll need to successfully make your own wig. If you’re not sure where to get some of these items, Amazon or eBay are good places to start looking, and our websites are a great place for you with a wide range of Weft hair extensions, Frontal, and closures to get.
III. How To Make A Wig At Home (Step-by-Step Guide)
If you’re hesitant to try on anything in person or simply haven’t found a hairpiece that works for you, the good news is that making your own custom wig at home isn’t as hard as it may seem. You can also color the hair first so that every piece of the wig is complete before putting it all together. If you’re more of a visual person, watch the video below for detailed instructions on how to make a wig, or scroll down for step-by-step directions.
How To Make A Wig Step #1: Forming The Wig Foundation
Firstly, you will need the dome cap and mannequin head. Ensure that the dome cap is centered, and then hold it in place using two T-pins at the nape of the wig cap to mimic the nape of your hairline.
To start the foundations of the wig, you will need your frontal or closure. Centre it on top of the mannequin head on top of the dome cap and then start pinning it down, ensuring that the front of the closure/ frontal is 1/4th of an inch in front of the dome cap.
After pinning the center, pinning down the sides is quite simple as you can pin them straight down. The end of the closure/ frontal needs pinning at the end of the dome cap.
How To Make A Wig Step #2: Marking and Preparation For Wefts
1. Marking The Outline
Pin the frontal/closure up and out of the way for now so you can begin marking out the lines for the bundles. Trace the outline of your frontal/ closure onto the dome cap, and then draw the foundation for laying out the wefts.
- If you’re using a sewing machine, draw each line approximately 2cm apart
- If you’re sewing by hand, you should make each line slightly closer together.
*Note: When doing this, keep in mind the number of bundles you’re using. Fewer bundles necessitate fewer lines, while more bundles necessitate more lines closer together as you progress up the dome cap. Whether you use a closure or a frontal, the lines must curve around and up the crown until they reach the outline.*
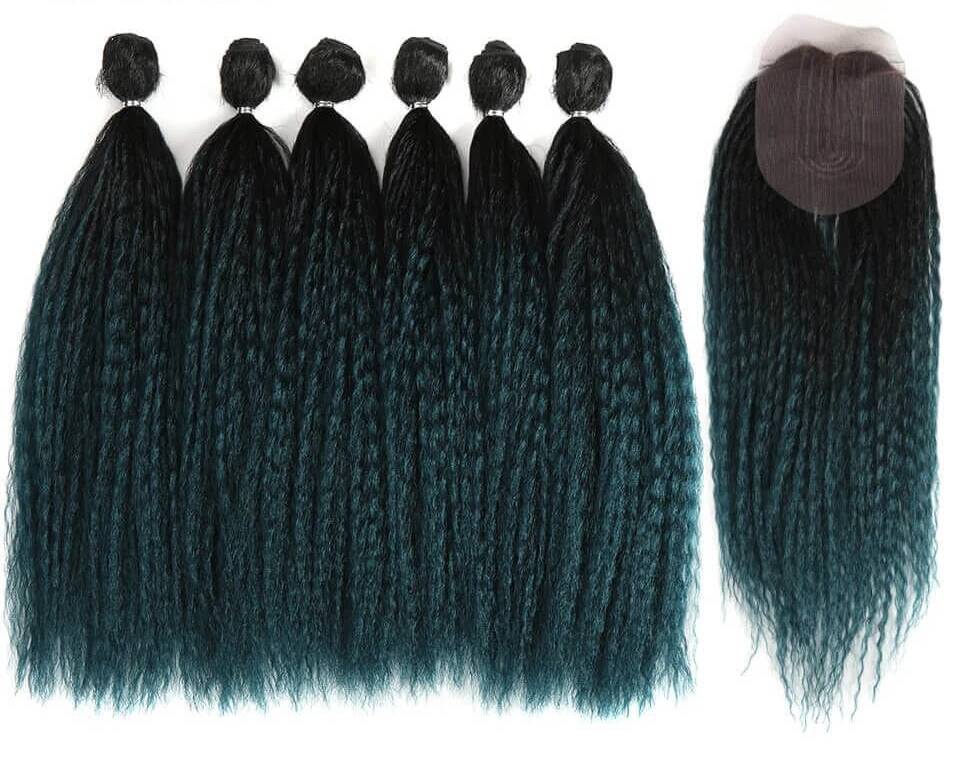
2. Preparation For Wefts
In terms of hair, the choice is up to you. Both real and synthetic hair has their own advantages and disadvantages, but it’s always a good idea to get high-quality hair, so you can keep your wig for years to come. Generally, for a wig that will be worn every day, you would want to use real hair. Proud to be one of the most professional and reputable Vietnamese organizations in hair manufacturers and trading, the hair sold on the AZ Hair website is 100% human hair with zero synthetic fillers. For a wig only worn on occasion, you might be able to use synthetic hair.
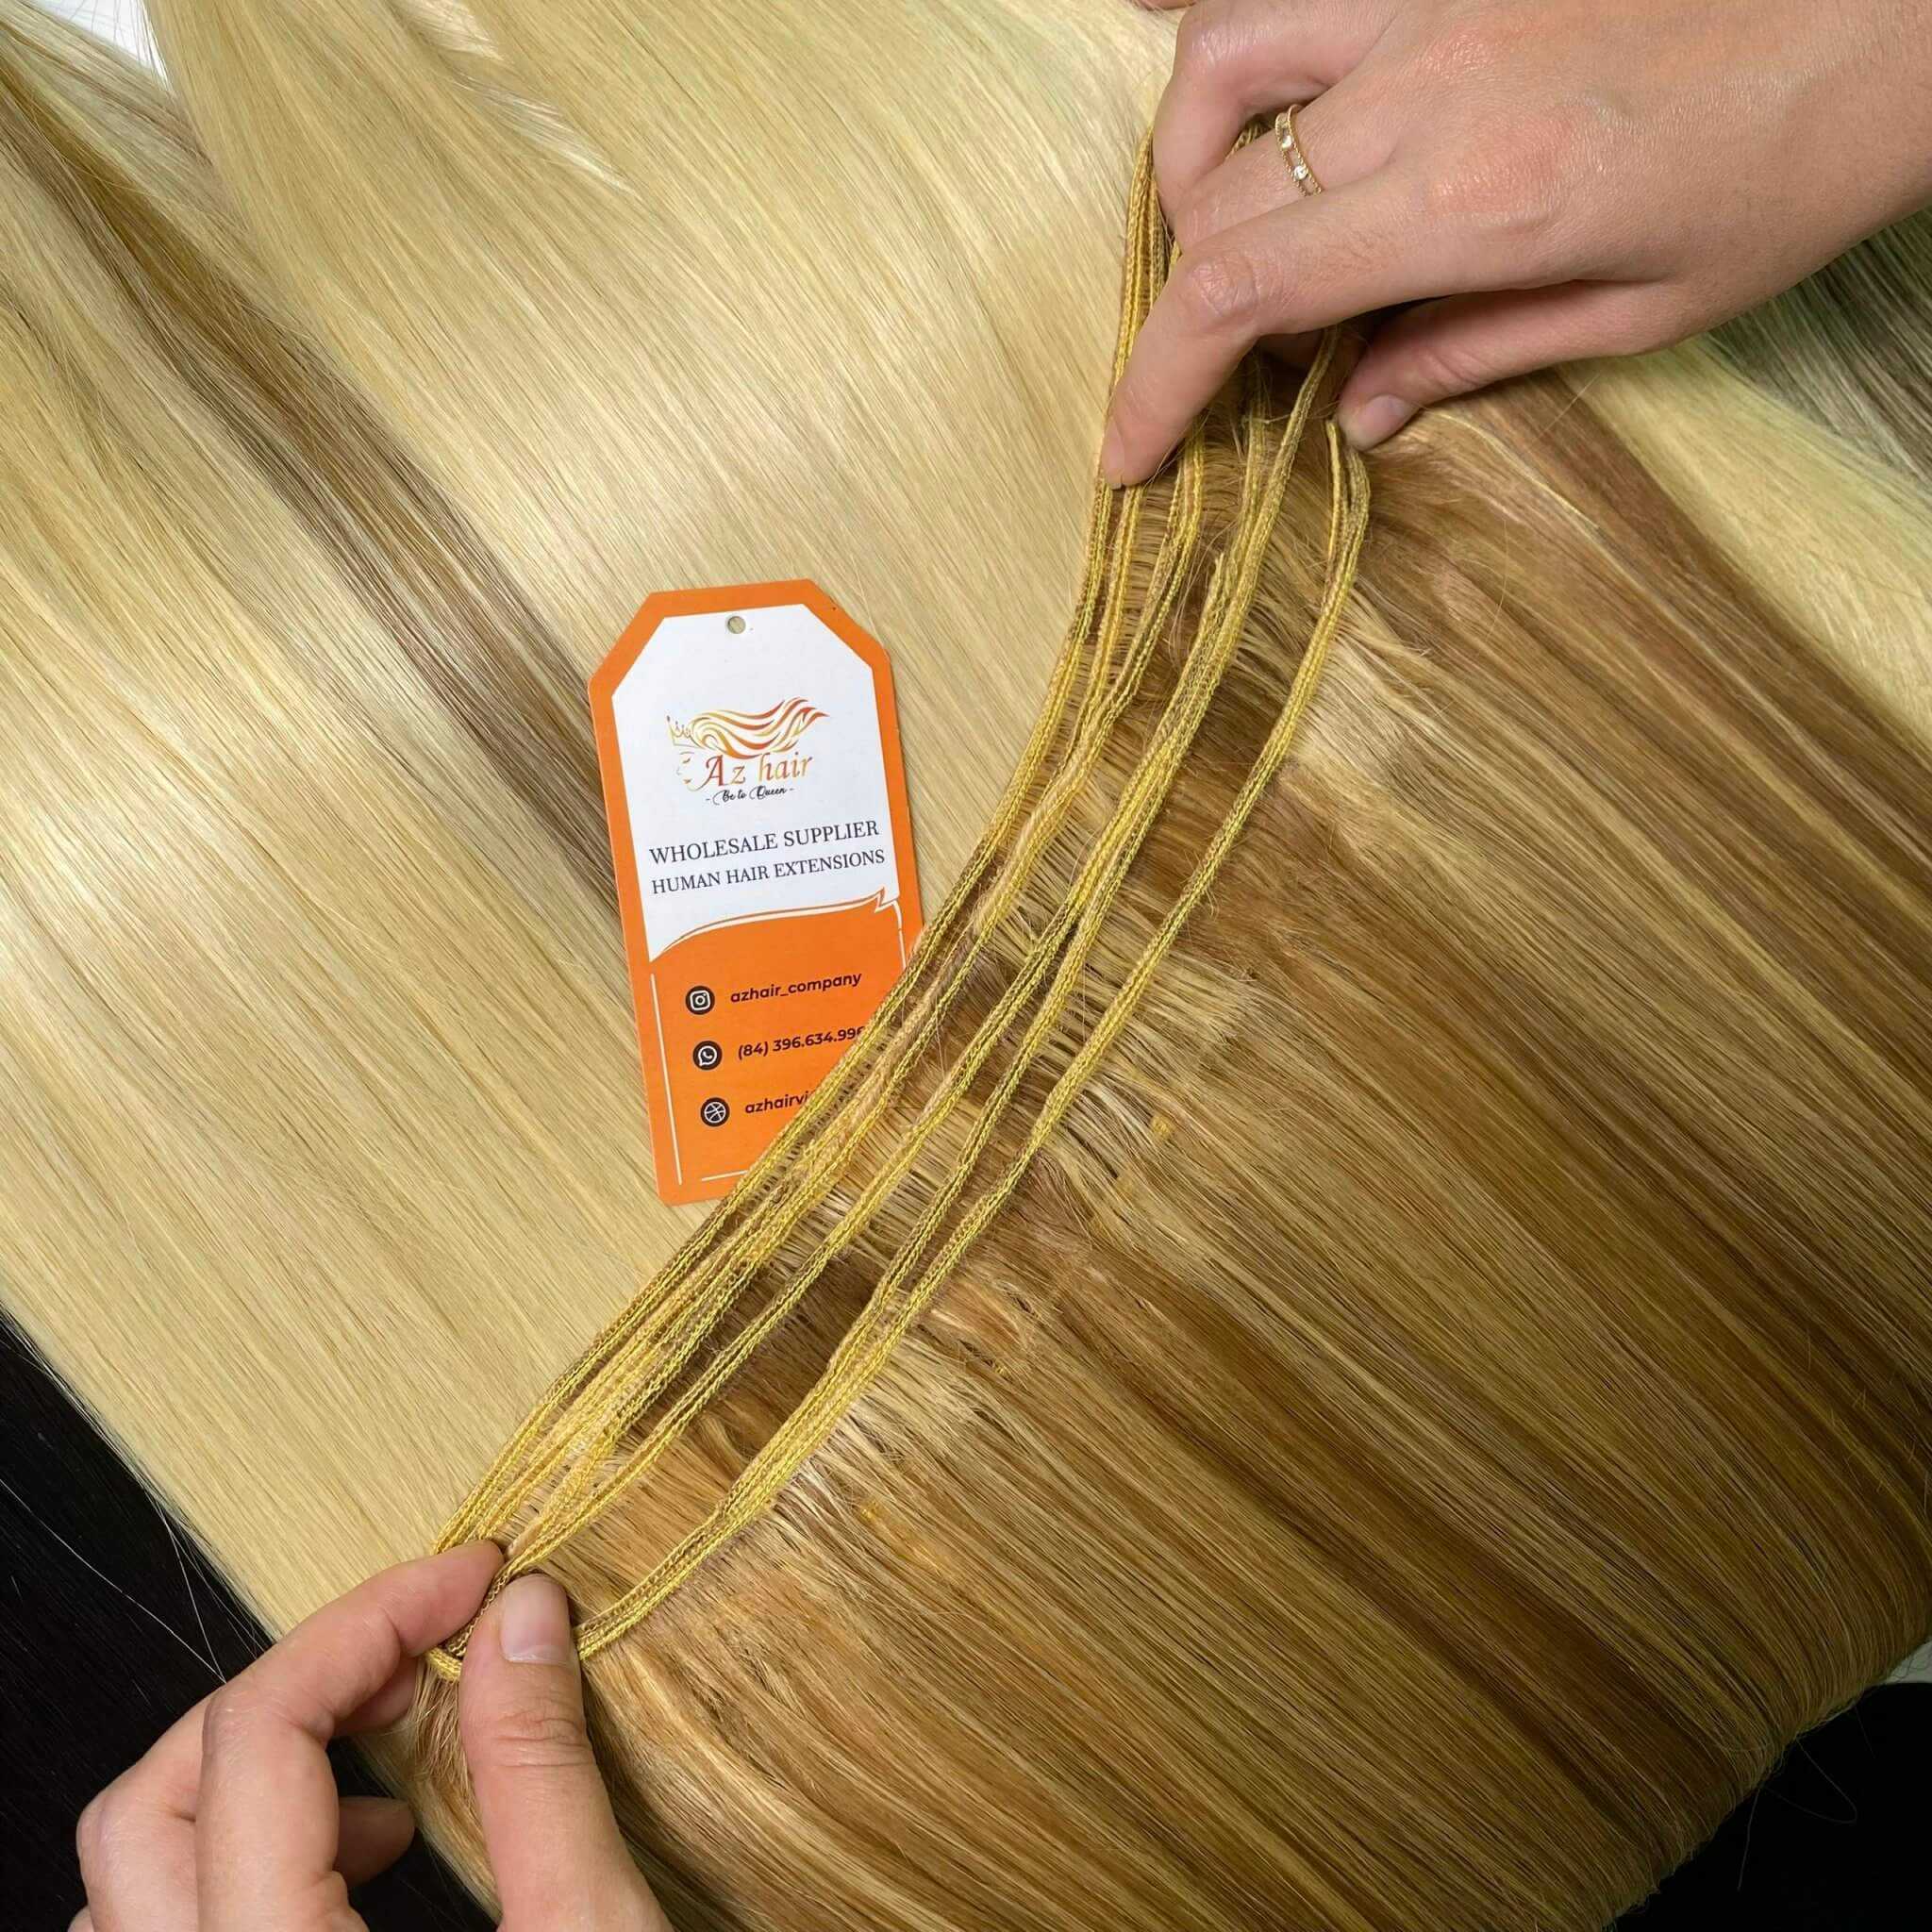
- Natural hair appears more realistic, is more durable, and can withstand heat and other styling products better. Real hair wigs, on the other hand, must be restyled after washing
- Synthetic hair does not look as realistic and can be damaged by heat and hair dye. On the other hand, wigs made from synthetic hair tend to be lighter, and do not need to be restyled after washes.
How To Make A Wig Step #3: Start Sewing The Weft
We will explain how to sew by hand since it’s the more accessible option.
- Get your first weft and line it up with the bottom line on the dome cap. Put the needle and thread through the dome cap and then through the track of the weft. You will only do this for the start and finish of a weft track.
- After putting it through, feed the needle through the hole of the thread, and this will create a more secure start as it creates a knot at the beginning of the weft.
As you continue to sew the weft on, two things are essential:
- Sew through the dome cap and around the weft track, then when you bring the needle through, you need to pull the needle and thread through the loop on the left side, helping to preserve the longevity of the weft, and then bring it through the loop again to create a more secure sewing pattern.
- Once you get to the end of the track, you need to sew through the dome cap, and weft then create a knot at the end of the thread by wrapping it around the needle 2 to 3 times. Once you pull through, pull tightly, and it will create a natural knot securing the end.
How To Make A Wig Step #4: Repeat and Finish
You now understand how to add a full weft to your wig. All that remains is to repeat the process. Repeat these steps to sew on each weft along each line until you have a finished product.
IV. Conclusion
If you followed this guide on how to make a wig by hand and made your first-ever wig, we congratulate you! However, if you haven’t started yet, we hope it will be useful when the time comes.