ABOUT US
 HAIR EXTENSIONS
 BEST SELLING PRODUCTS
 Wig Hair
 WHOLESALE
 Contact us
 Sale Events
In a world where personal expression knows no bounds, our hair often takes center stage as a canvas for showcasing our unique style. If you’ve ever yearned for luscious locks that seamlessly blend with your natural hair, the solution might be closer than you think. Say goodbye to salon appointments and hello to the creative realm of DIY clip-in hair extensions! In this step-by-step guide, we’ll unravel the secrets to crafting your very own clip-in hair extensions at home.
I. What Are Clip Ins Hair Extensions?
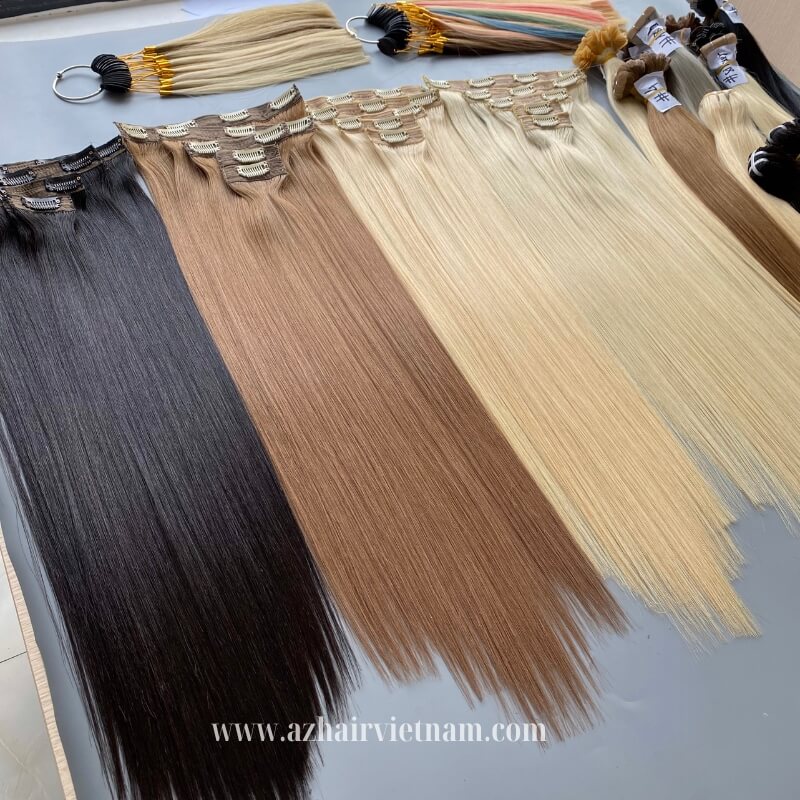
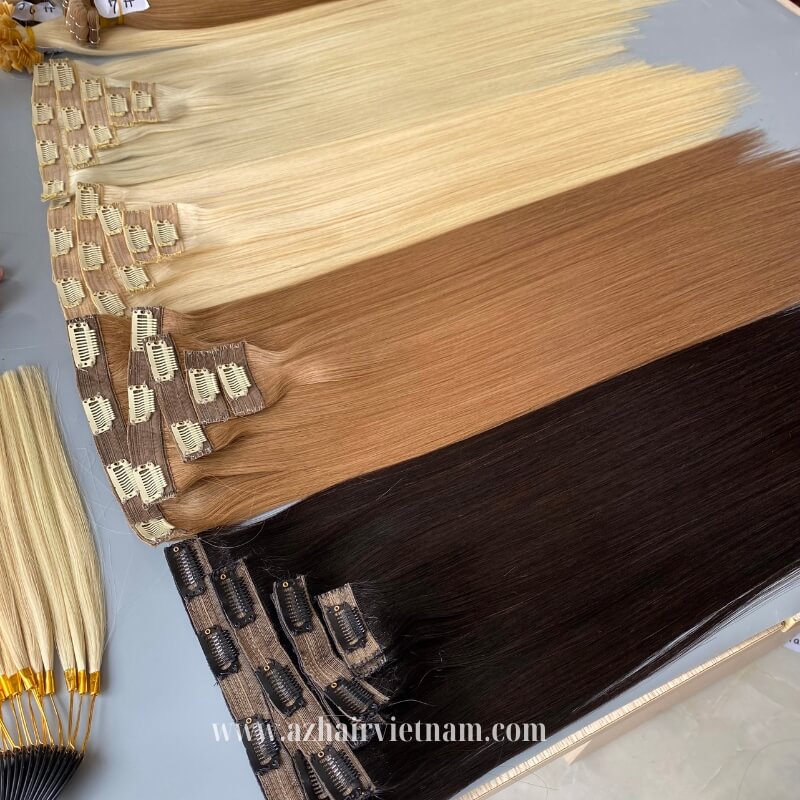
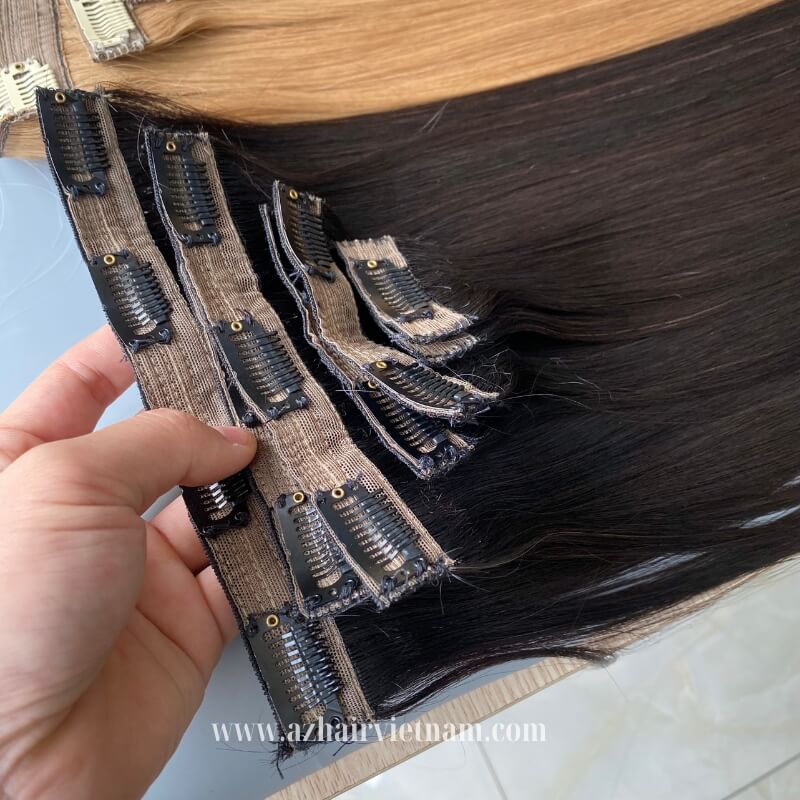
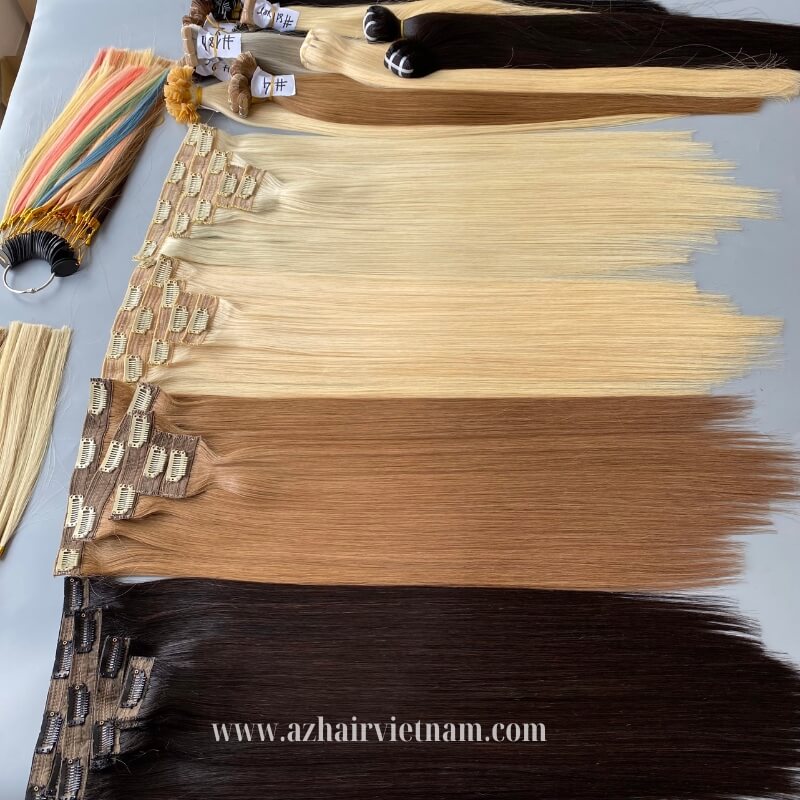
Clip-in hair extensions are a type of temporary hair extension that you can clip into your natural hair to add length, volume, or highlights without the commitment of permanent extensions. They are typically made from real human hair or synthetic fibers and come in multiple wefts, or sections, with small clips attached to the base. To apply clip-in extensions, you simply part your hair, snap open the clips on the extensions, and then clip them into your hair close to the scalp. They can be easily removed and repositioned as needed, making them a versatile option for adding temporary length or volume for special occasions or everyday wear. Clip-in extensions are available in various lengths, colors, and textures to match your natural hair or achieve the desired look.


II. Which Methods Can I Use to Make DIY Clip-in Hair Extensions?
Embarking on the journey of creating your clip-in hair extensions is not just a craft; it’s a personalized expression of style and individuality. Whether you want to add volume, length, or a pop of color to your locks, the world of DIY clip-in hair extensions is brimming with possibilities. So, if you’ve ever wondered, “Which methods can I use to make clip-in hair extensions by yourself?” – you’re in the right place.
Sew-in Method
Creating clip-in hair extensions using the sew-in method is a fantastic way to tailor extensions to your specific hair type and preferred style and ensures a secure and long-lasting hold. This method allows you to customize the extensions’ size, length, and texture according to your needs, giving you the flexibility to achieve various looks effortlessly. Plus, because the extensions are removable, you can easily switch up your look without committing to a permanent change.
III. How To Make DIY Clip-ins Hair Extensions by Sew-in Method?
Make DIY clip-in hair extensions by the sew-in method provides a sturdy hold that withstands daily activities and styling, making it ideal for those who want a reliable solution for adding length and volume to their hair. Let’s which materials will we need for making DIY Clip-in hair extensions!
1. Tools for DIY Clip-in Hair Extensions
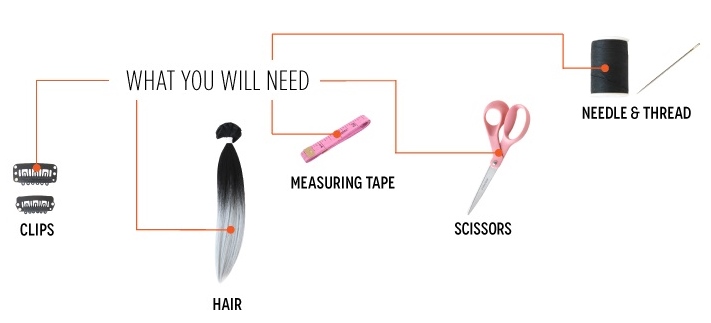
- Measuring tape
- Scissors or shears if you’re feeling professionally fancy
- Good needle and good quality thread
- Wig Clips
- Weft hair extensions are also called hair weave (you can use wefts from a lace front wig you no longer wear)
2. Step-by-step To Make DIY Clip-in Hair Extensions
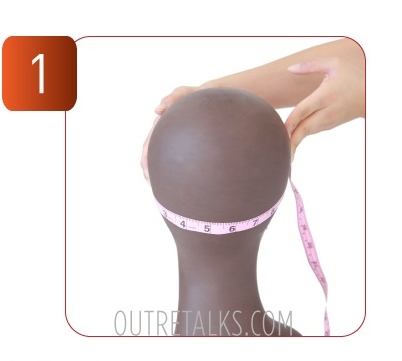
Step #1: Measure The Weft
If you want to make the clip-in hair extensions fit specific areas of your head then use the tape measure to to measure those areas where you’ll place the clip-in hair extensions. Remember to write down the measurements and cut the hair weave according to those measurements. A basic guide for clip-in hair extension widths is as follows:
- One piece of 13 cm (5 inches) for the nape area.
- One piece of 23 cm (9 inches) for around the back of the head (ear-to-ear)
- Two pieces of 10 cm (4 inches) above the ear on each side.
- Two pieces of 3 cm (1.5 inches) to fill in
Step #2 (Optional): Glue Two Wefts Together for A Fuller Look
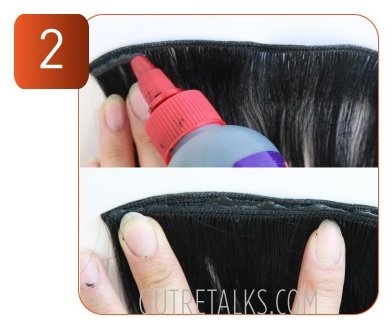
Did you aim for an even more voluminous appearance? If so, consider seamlessly combining two tracks by either gluing or sewing them together. It’s crucial to proceed with patience to ensure optimal outcomes. Apply a minimal amount of glue precisely along the woven portion at the top of one weft, remember to be careful to avoid getting any on the strands of hair. Once the glue has set, affix the glued weft to its corresponding unglued counterpart, gently pressing both pieces together before allowing them to thoroughly dry.
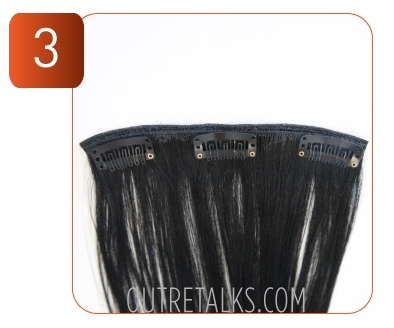
Step #3: Mark Out The Position to Attach The Clips
Mark out where on the track you will want to attach the clips. You can use different-sized clips for different clip-in hair extension pieces – a single larger clip would be better for a 3 cm wide piece and several smaller clips for the larger hair wefts. A basic guide for clips as follows:
- Three large clips for the 13 cm (5 inches) for the nape area.
- Four large clips for the 23 cm (9 inches) around the back of the head (ear-to-ear)
- Three medium clips for each of the 10 cm (4 inches) above the ear on each side.
- One large clip for each of the 3 cm (1.5 inches) to fill-in
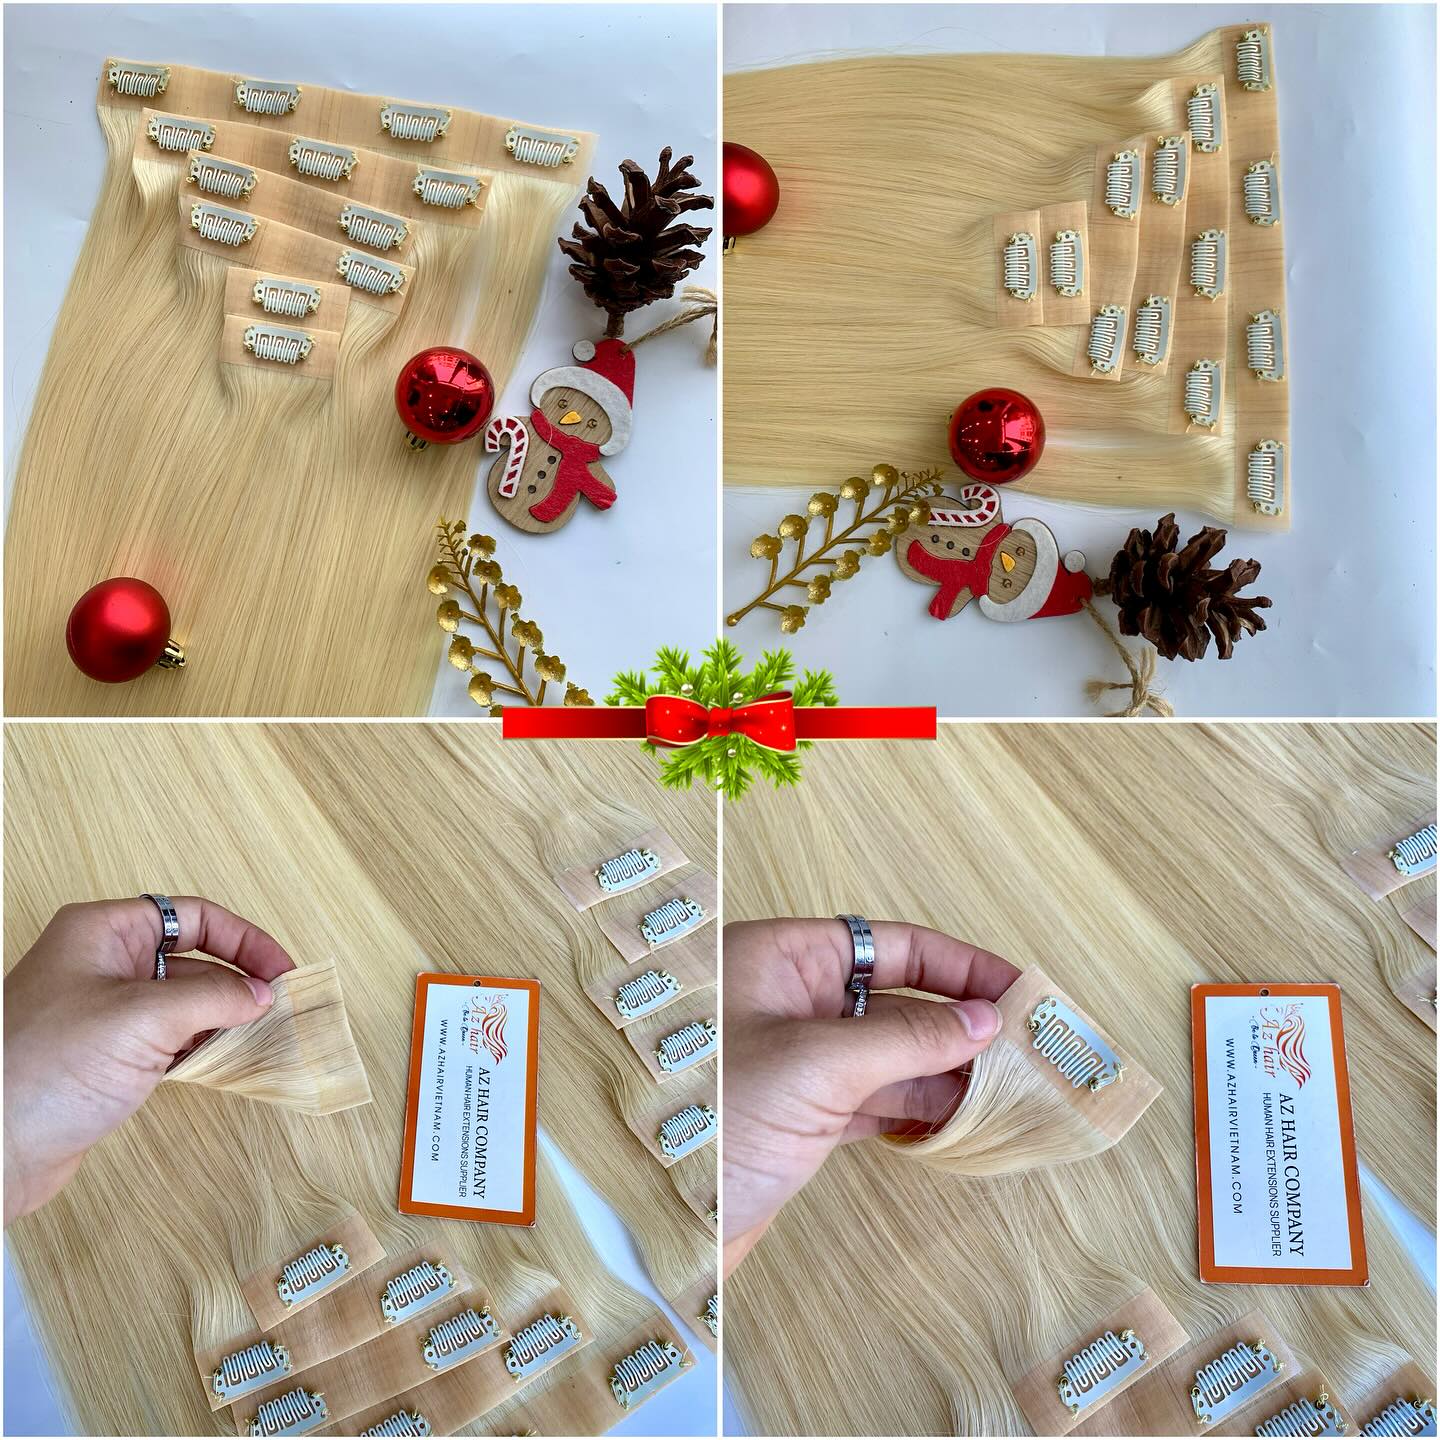
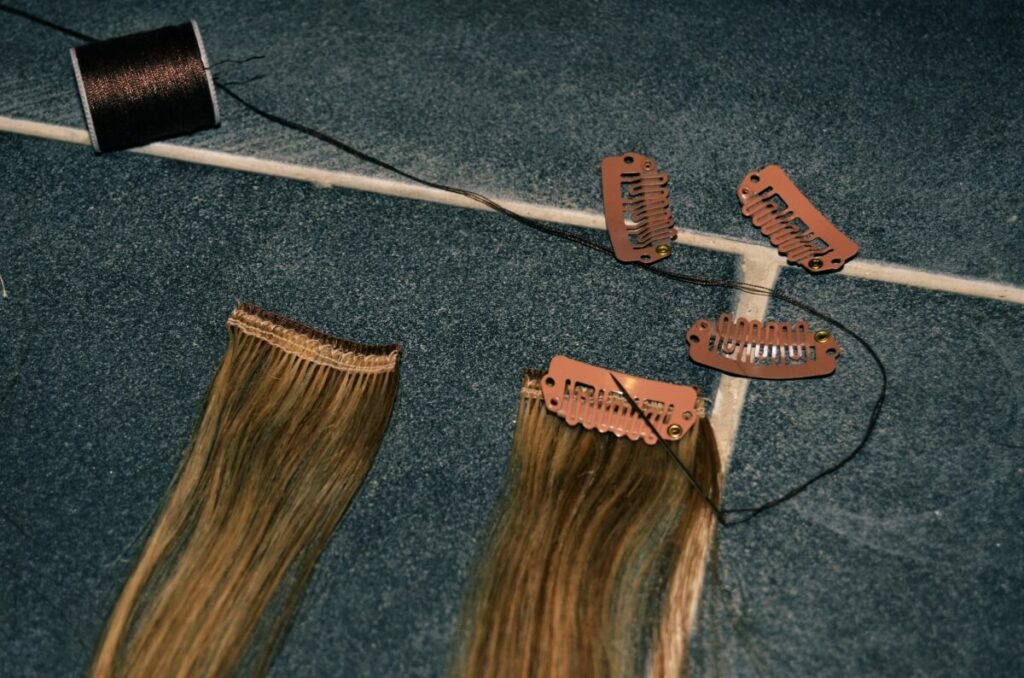
Step #4: Sew The Clips onto The Hair Wefts
When you sew the clips onto the hair wefts, make sure that the teeth of the clip are facing you otherwise you won’t be able to clip the hair extensions into your hair. The top of the clip should be against the woven part of the hair weft.
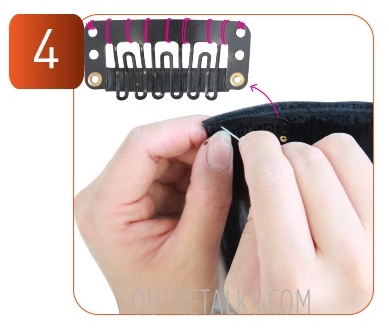
Insert the needle through the top left hole of the clip and sew 5-10 times so that it’s secure. Sew along the top of the clip so that you secure it to the weft along the whole length of the clip and then sew through the top right hole at least 5-10 times until it’s secure. Knot the thread and cut off any excess thread. Repeat with each clip. …And that’s how to make your own clip-in hair extensions…look at you, with your new ultra-volumized tresses.
IV. Conclusion
In conclusion, creating your own DIY clip-in hair extensions can be a fun and rewarding project that allows you to customize your look without breaking the bank. By following the steps outlined in this guide and experimenting with different hair types and colors, you can achieve the perfect set of extensions to suit your style. Whether you’re looking to add length, volume, or a pop of color to your hair, homemade clip-ins offer a versatile and affordable solution. So, gather your materials, unleash your creativity, and get ready to enjoy the benefits of beautiful, customized hair extensions made right at home!