Welcome to the ultimate guide on mastering the art of blow-drying hair extensions! Whether you’re a seasoned stylist or a hair enthusiast looking to achieve flawless results at home, you’ve come to the right place. In this comprehensive blog, we will unravel the secrets behind achieving a salon-worthy blowout with hair extensions, providing you with the knowledge and techniques to make your locks look voluminous, sleek, and beautifully styled. Get ready to transform your hair routine and discover the step-by-step process that will leave you feeling confident and glamorous. So, grab your blow dryer, and let’s dive into the world of stunning hair extensions and the perfect blowout!
Blow-drying Hair Extensions #1 - Preparing Your Hair Extensions
For best results when blow-drying your hair extensions, you must properly prepare your hair for styling before using a blow dryer. Choose a shampoo and conditioner that are suited to your hair and skin type. Something mild and nutritious will not only aid in the preservation of your hair extensions but also helps to reduce tangling, restore quality, and condition your hair extensions between washes. On the day you want to blow your hair dry, wash your hair and let it partially air dry. This helps to keep hair healthy and strong as well as cut down on the amount of time you spend drying your hair.
Prep Your Hair Step #1: Removing Excess Water

Before blow-drying, gently squeeze any extra water from your extensions with a towel. The less water in the hair, the less time you will need to spend applying heat to dry the hair.
Prep Your Hair Step #2: Brushing Your Extensions
After removing the excess water, you will need to brush your hair extensions before you begin the process of drying them. Whilst it is well known that hair is at its weakest when wet, unfortunately brushing your hair after a shower cannot be avoided, as we need to keep those hair extensions as smooth and tangle-free as possible. Gently work your way through your hair extensions with a suitable hairbrush, being careful not to tug on the bonds.

Once your hair is smooth you must ensure you check your bonds or weft for any disruption. Run your fingers in and around the bonds or weft track to be sure that they have not become tangled during the process of washing and brushing, and pull free any stray hairs that may have become tangled.
Prep Your Hair Step #3: Apply A Heat Protection Spray
Before applying heat to your extensions, make sure you apply a heat protection spray that will prevent any damage from heated tools. For double, the protection, use a serum or cream plus a heat protectant spray on each section of the hair or weft pieces.

Before You Blow Dry: Keep in mind that, after applying a heat protectant, you should begin to blow dry your extensions by focusing on further removing excess water left in the extensions before sectioning the hair to begin to blow drying properly. By doing this, you will limit the time spent applying heat to your hair extensions. It has the same purpose as when draining out excess water with a towel because the less water in the hair, the less time you spend applying heat to your hair extensions. Now ready to start drying your hair extensions!
II. A Step-by-Step Guide To Perfectly Blow Drying Hair Extensions
Blow-Drying Hair Extensions Step #1: Section Your Hair

Divide your hair and extensions into manageable sections. Secure each section with hair clips or hair ties to keep them separate and prevent tangling while blow drying.
Step #2: Use The Low Heat Setting and Began To Blow Drying

Set your blow dryer to a low heat setting to minimize the risk of overheating the hair extensions. High heat can cause damage and make the extensions dry and brittle. Take a rounded bristled brush and begin the blow drying of your hair extensions with one section at a time. Hold the blow dryer about 6 to 8 inches away from the hair and move it in a downward motion to avoid focusing heat on one spot.
Blow-Drying Hair Extensions Step #3: Use A Cool Shot
Once each section is dry, switch your blow dryer to the cool shot setting and run it over the hair extensions. The cool air helps to set the style, adds shine, and reduces frizz. Continue blow drying and styling each section until all the hair extensions are dry and styled to your liking.
Step #4: Apply A Finishing Product
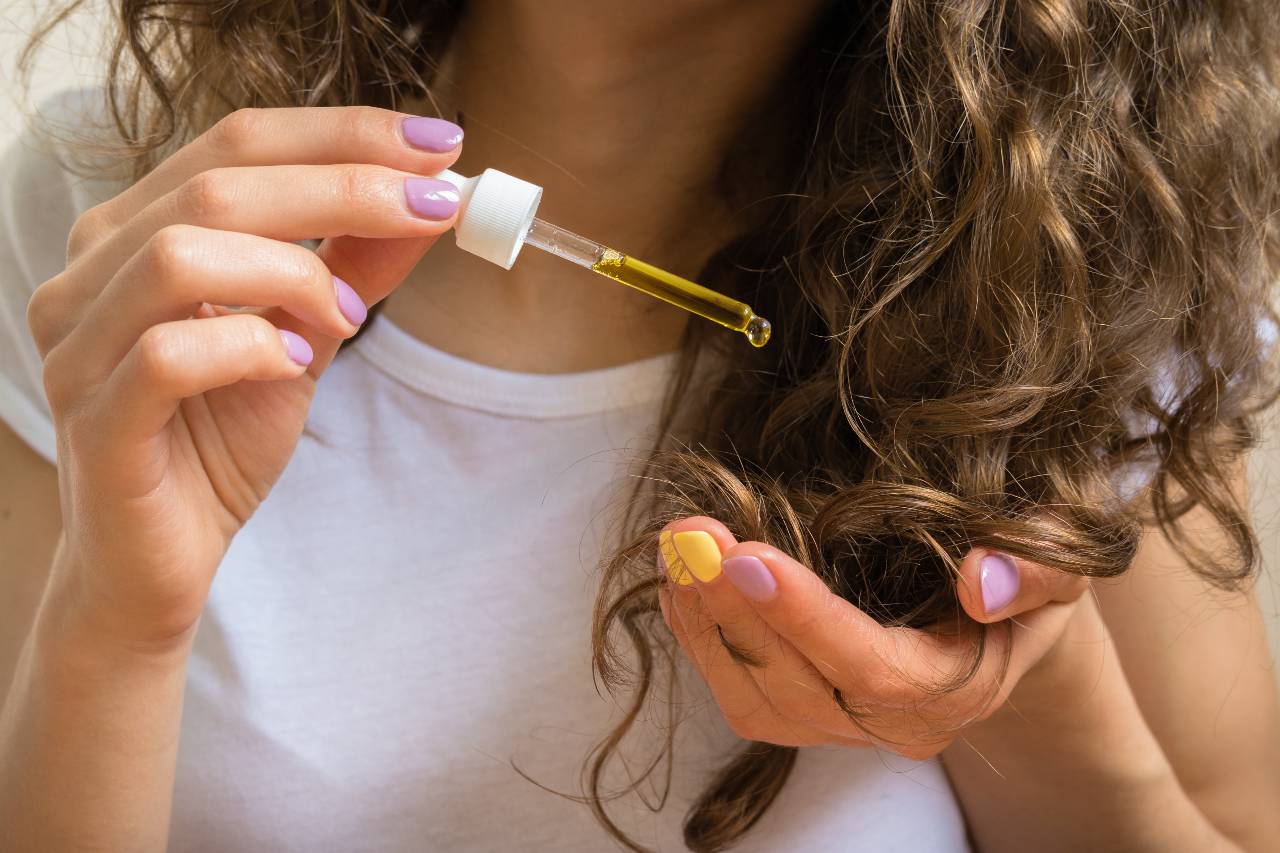
After blow drying, brush the extensions to remove any missed knots and tangles. If you would like extra protection, you can apply argan oil or smoothing cream to help defeat frizz and add shine. You also can apply a small amount of hair serum or oil to the ends of the extensions to add extra shine and smoothness. And just like that, your extensions are ready-to-wear again.

*Note: In order to get the most out of your hair extensions, you should ensure that your hair is fully dry before styling further. Because applying direct heat from a hair straightener when the hair is still damp exposes the hair to excessive heat which can cause damage to the hair’s structure, it’s a big no-no. When your hair is totally dry and you want to further style by using a straightener or curler, we recommend waiting until the hair is completely cool before styling. This will just allow the hair to adapt and be ready for further styling.*
III. Advices For Blow- Drying Hair Extensions On Installed Method
1. For Halo Hair Extensions, Remember To Dry the Mesh
After the hair is dry on your halo, be sure to dry the mesh on the back so it is ready to wear and doesn’t stay wet. If this part of your extensions remains wet and doesn’t dry quickly enough, you could risk the possibility of bacteria or mold growing on your extensions. This is something you obviously do not want.
2. For Keratin Hair Extensions, Instantly Blow-Drying
If you are wearing a pre-bonded keratin method, you will need to begin blow-drying your hair extensions straight away, as allowing your hair extensions to sit damp can cause the bonds to become sticky, which is not ideal.
3. For Other Installation Methods
If you are wearing another method such as micro ring hair extensions, nano ring hair extensions, tape hair extensions, or weft hair extensions, then you can allow your hair to air dry slightly before blow-drying.
IV. Wrapping Up
Drying your hair extensions is an important part of your daily aftercare routine, and it is therefore essential that you understand how to dry your hair extensions properly to keep them in perfect condition.


 BEST SELLING PRODUCTS
 Wig Hair
 WHOLESALE
 Contact us
 Sale Events
